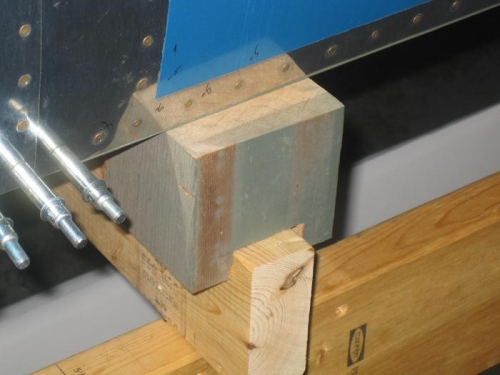
I had to wait a couple days to get some help in flipping the fuselage but once it was upside down again on the jig I got started on fitting and match drilling the gear legs and brackets to the fuselage. I began by leveling the structure both longitudinally and laterally with a carpenters level. To get the forward bottom of the fuselage level required making some blocks cut from a small piece of 4x4 to raise the forward section. I planned to use cabinet shims to do the final leveling but with the blocks in place the fuselage was perfectly level. You can see these "lifting" blocks in the first picture below.
I then had Connie help me mount the main gear legs holding them in place with the single 7/16" bolt at the inboard attach point. I put the two 5/16" bolts into the bracket as well to position the wear plate for later drilling. The two 3/8" bolts were placed through the outboard brackets and wear plates to keep them in alignment. The outboard brackets and wear plates were positioned per the shop drawing.
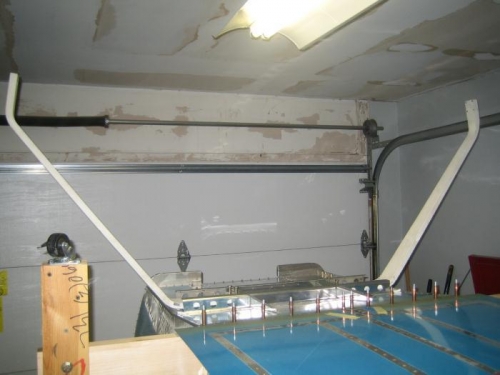
I dropped the five plumb lines as detailed in the manual. These included two off the leading edge of each gear leg (one outboard and one about 1/2 way down the leg inboard) and one centered at the tail.
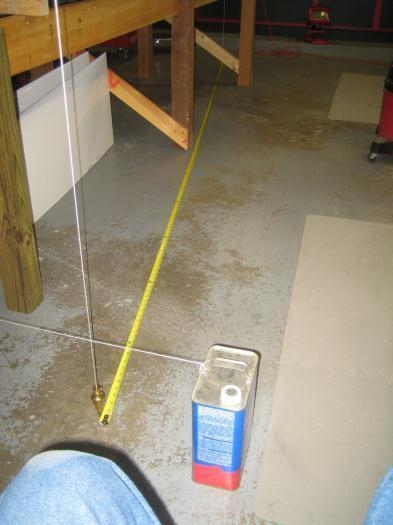
Connie and I then began taking measurements from the outboard plumb lines at the gear to the line at the tail. Once we positioned the gear legs to where we had identical measurements on both sides of the triangle (and proper alignment side to side) we were ready to drill.