
|

|
|
|
Pete's RV-8 Web Site
|
Date: 3-11-2010
|
Number of Hours: 3.50
|
Manual Reference:
|
Brief Description: Riveted tank end ribs
|
|
The end ribs on the tank have been curing for a couple days so it was time to wet set the rivets. My procedure is to remove every other cleco, remove any partially cured sealant left behind in the rivet hole, dress the dimple lightly with a deburring tool, put a dab of sealant in the dimple, insert the rivet, and squeeze. I then clean off the sealant and inspect the rivet head.
The riveting went well, however, upon close inspection after wiping away the excess sealant I found five rivets, each with a tiny crack in the manufactured head. I still don't know for sure why this happens but I suspect it is from over squeezing or over driving. Upon close inspection of these bad rivets, it looks like they may have been located where there was a little pillowing of the rib flange and sealant. Perhaps the "thicker" material put more pressure on the rivet as it was squeezed? Anyway, I drilled out the bad rivets and replaced with some "oops" rivets. I probably could have used the standard rivets but the special rivets gave a little better result.
I finished up the work session by sealing the shop heads of the rivets in the end ribs. In my next shop session I plan to run a fillet of sealant along each of the five internal tank ribs, seal all the rivet shop heads, and install the vent line. A day or so later it will be time to install the rear baffle and the tank will be finished. That will be a day to celebrate. Have I said lately how much I hate working with tank sealant? It will be nice to get back to just plain riveting!
|
|
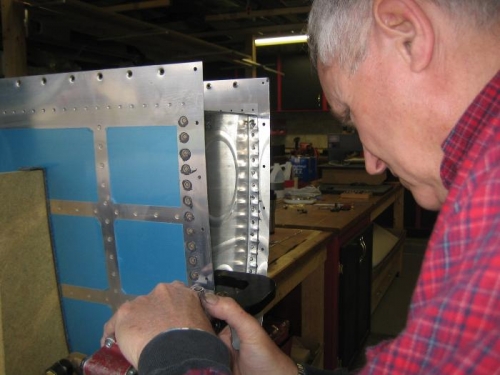
Squeezing Rivets
|
|
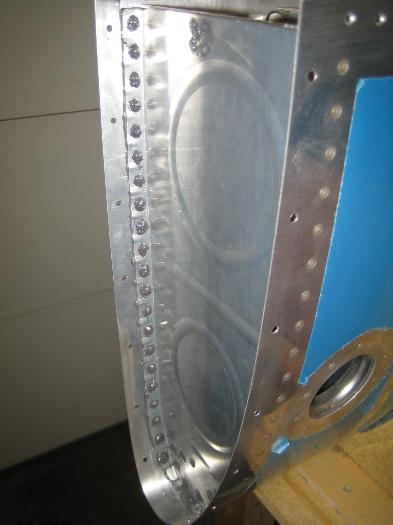
Shop Heads Sealed
|
|
|
|
|
|
|
|
|
Copyright © 2001-2024 Matronics. All Rights Reserved.
|