
|

|
|
|
Nate's RV-7 Site
|
Date: 11-7-2019
|
Number of Hours: 4.00
|
Manual Reference: Sect 7-2
|
Brief Description: Rear Spar Preparation
|
|
Back to work after a two week trip.
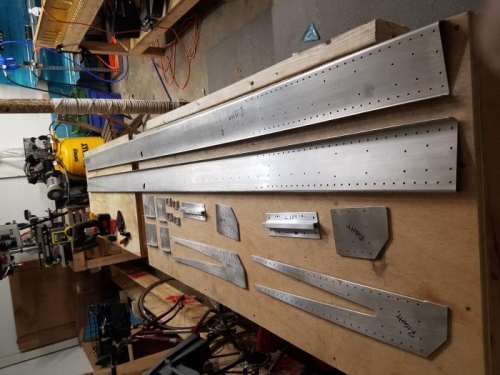
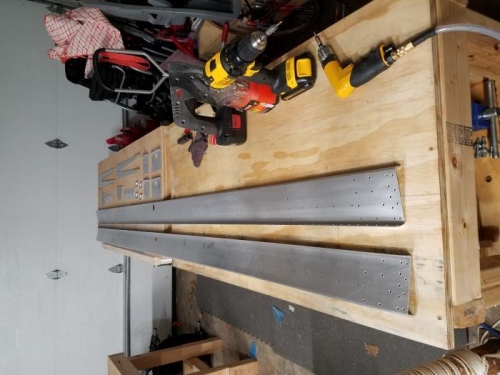
I started working on the rear spar again and got a few things knocked out. First off, I removed the blue film from all of the parts. Then, I fit the outer rear spar reinforcement plates, W-707E & F. For the outer plate, it was a simple process of clecoing and matchdrilling the plates to the spar. Nothing much else. For the inner plate the direction have you place the plate 50 3/4" from the end of the spar to the outer edge of the plate. Whn I measured mine up, I found that this didn't provide the desired amount of edge distance to both sides of the plate. I assumed that maybe this was due to differences in tape measure accuracy. So to give both sides ample edge spacing I bumped the reinforcement plate 1/16" outwards. Satisfied that both sides had sufficient edge distance, I drilled the holes in the plate using the spar as a guide.
Completing that I moved inboard and match drilled the inboard spar reinforcement plates to the rear spar. Which did not require much effort. Finally I marked the parts, disassembled the structure, and deburred all of the affected holes. Then began scuffing the parts with red scothbrite pads in preparation for priming. I found that the process moved a bit faster when I attached a scotchbrite pad to my sander and made a few passes over the spars with that. Then I increased the amount of scuffing by following that up with a finishing pass of scuffing by hand to make the scuff bigger/deeper. Finally, I dimpled the holes which were above the inner spar reinforcement plates, since they cannot be dimpled after the parts are riveted together.
|
|
|
|
|
|
|
|
|
|
|
|
|
Copyright © 2001-2024 Matronics. All Rights Reserved.
|