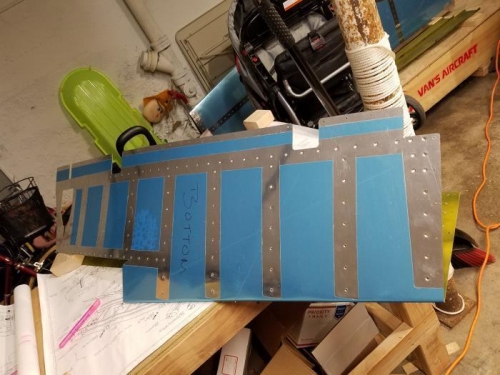
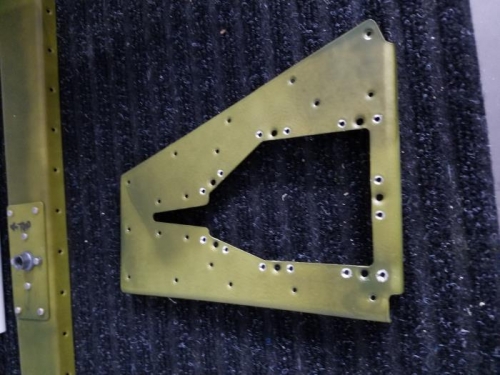
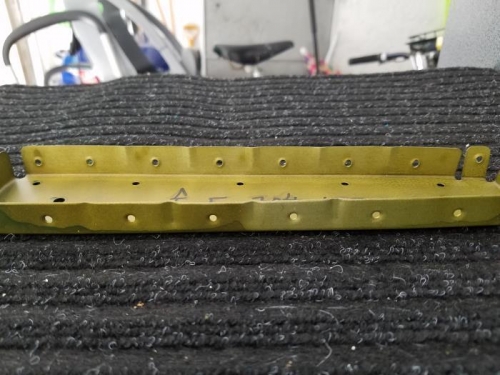
I began work on the left elevator by dimpling all of the components of the in the left elevator. then after that I went to work on the E-615PP Trim reinforcement plate. I used the #6 screw dimple die to dimple all of the screw holes. I also made a mistake and dimpled the nutplate holes along with the structure holes with a #40 dimple die. After noting my mistake I was left with two options. either A) countersinking the nutplates or B) using the flat squeeze to re move the dimples from the material. After thinking about it for a long time, and reading up on some blogs, I learned that Vans says its okay to flatten out dimpoles once, and then I realized that most of the material I was worried about would be countersunk out anyway, as the holes must be slightly countersunk to allow the rivets that hold the nut plates in to sit flush. So I put my flat squeeze set in the hand squeezer and flattened out the dimples. Then I used my speed deburring tool and my #40 countersink bit, along with a random AD3-3.5 rivet to remove just enough material to allow the rivet to sit flush when installed. Next I completed dimpling the E-704 counter balance rib and noticed that the holes in the lower flange had really been misshappen when I match drilled the parts together. thinking back I remembered that I had significant problems getting these holes to align, even after repeatedly checking the fluting of the individual parts. It so concerned me initiallially that I'd contacted Vans about the issue. Their reply was not to worry and build on. I wasn't too comfortable with this when I saw how the 3-3.5 rivet sat in the hole. It wasn't apparent in all of the holes, only about three or four holes in the part.