Brief Description: Right Elevator Work (continued)
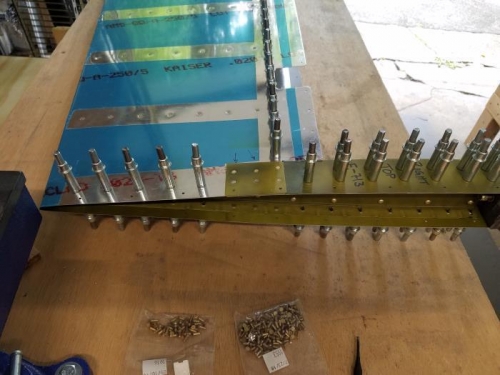
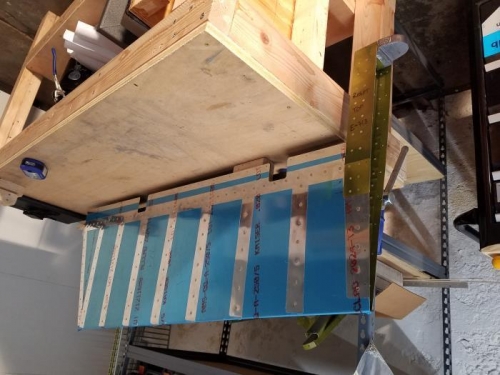
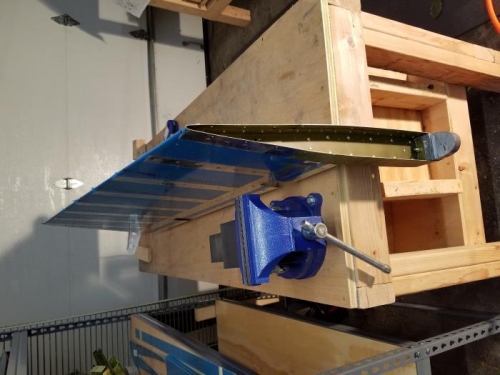
Continuing the work on the right elevator, I next installed the elevator spar and clecoed it into place. I then used the pneumatic squeezer to install the AD3-3.5 rivets attaching the skin to the underlying frame. Then I fully installed the AN509-10-R24 srews holding the counter balance in place. After assemply I noted that I put the wrong washer in the screw assembly for the counter balance so I marked my work and continued on. Before I remove the AN365-1032 nuts (which have the nylon locking ring in them) I'll consult someone with a bit more knowledge on whether the nuts must be replaced after one installation. Or if I can safely remove them and reseat them. the last thing that I'll need to do is make the bends on the leading edge of the elevator. I decided to delay the bending until I've completed the work on the left elevator and the rudder, to accomplish all of the bends at once. Finally I elected to not install the last two rivets on the aft edge of the elevator. I still haven't made up my mind whether to use the AD3-3.5 rivets as directed or to use MK-319BS blind rivets. Using the blind rivets would make it easier. However I till have the third practice project incomplete so I wanted to use that to practice the installation techniques necessary to properly install the rivets. If I can't I'll happily use the blind rivets in the structure, and also in the oppostite side elevator and rudder.