
|

|
|
|
Nate's RV-7 Site
|
Date: 2-21-2020
|
Number of Hours: 3.00
|
Manual Reference: Sect 7-6
|
Brief Description: Fuel Tank Work #1
|
|
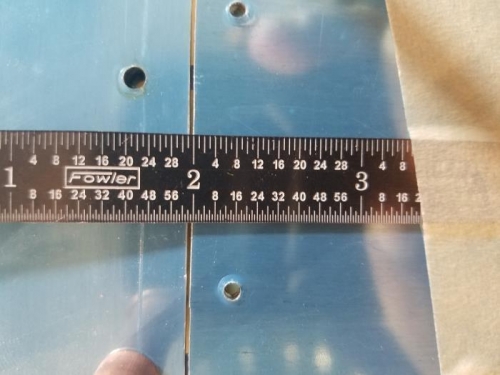
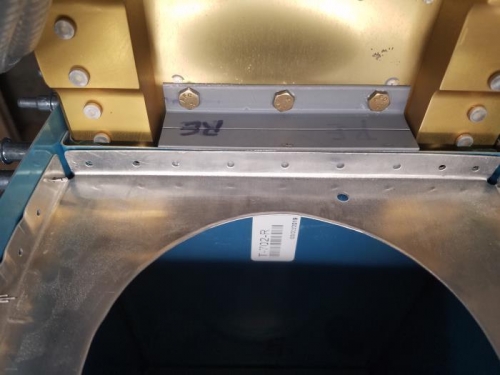
In this work session, I worked on the fuel tank. After fitting the z-brackets in the previous work session, I next fit the clecoed fuel tank down onto the spar ove the z-bracket attachment points. Initially this left me with a 1/16th inch gap between the upper wing skin and the fuel tank. After some internet consultation, I inserted #30 Clecos through the screw holes in the skin and into the corresponding nut plates in the spar flange. This resulted in the gap closing from 1/16th inch down to 1/32nd inch, reducing the distance roughly by half. The outboard edge of the fuel tank had a 1/32nd inch gap between it and the outboard leading edge segment. After consulting with Van's this was judged to be sufficient, so I then used a 12" #30 drill bit to drill the corresponding holes in the outterrmost z-bracket, setting the fuel tank in its final place. I then moved over and used a #30 drill bit to drill the starter screw holes in the W-423 joiner plate on the outside of the fuel tank.
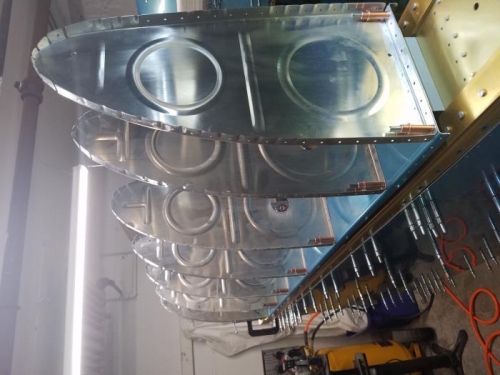
After that, I dove in head first on getting the tank rear baffle drilled. I removed the tank skin from the wing, and clecoed the ribs to the baffle. Then one by one, I drilled the requisite holes down from the tank ribs, through the rear baffle and into the the upper flange of the z-bracket. I started at the outter most rib and progressively moved in toward the previously drilled inner most fuel tank rib. To do each poisition, I secured the rib with a #30 cleco on each edge, then drilled the center hole and secured that with a cleco, Then alternated sides in an outside to inside pattern, securing with a cleco as I went along. At the completion of each rib postion, I removed the rib, but left the baffle cleco in two positions, and moved to the next rib position.
|
|
|
|
|
|
|
|
|
|
|
|
|
|
|
Copyright © 2001-2024 Matronics. All Rights Reserved.
|