
|

|
|
|
Nate's RV-7 Site
|
Date: 9-22-2019
|
Number of Hours: 1.50
|
Manual Reference: Sect 6-12
|
Brief Description: Trim tab/Left Elevator fitting
|
|
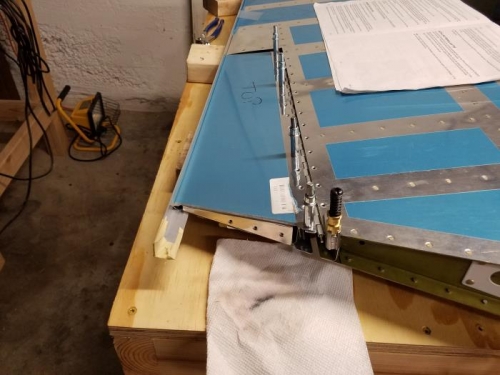
At this point I wroked on aligning the trim tab as directed in the plans and drilling the elevator side of the trim tab hinge. I decided to work from the inboard edge toward the outter edge of the hinge. I drew a line down the middle of the hinge tab on the elevator side to give myself an alignment line, then used a piece of angle stock to assist the lateral and horizontal alignment of the trim tab, and taped it into place.
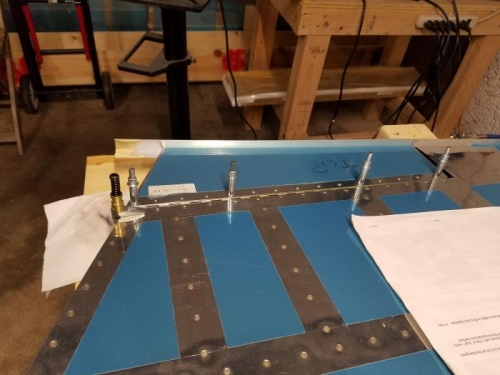
I then checked the hole alignment and drilled the holes one by one, adding clecos into each subsequently drilled hole. This held the hinge in the correct place and assured that I was match drilling the trim tab in the correct location. after a few hokles I removed the hinge and trimmed its edges, reinstalled it, double checked my work, and finished drilling and clecoing the hinge tab.
At this point my earlier deviation from the instruction left me in a conundrum. As you can see in the first photo, I drilled and dimpled the flaps on the side of the trim tab too early. Way too early. The instructions want you to accomplish this step here,as in, when you are fitting the trim tab to the left elevator. I did this much earler. The danger is that doing this will input a twist into the trim tab that you cannot get out. I was worried about twist in the tab itself. The twist I should have been worried about is in the alignment of the trialing edge of the elevator with reference to the trim tab.
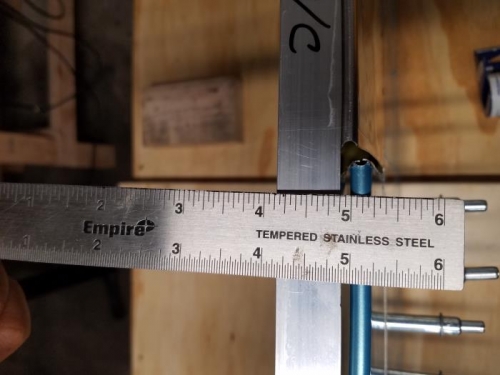
When I initally clecoed the trim tab to the elevator, the trailing edge of the trim tab exhibited a 1/8" gap on the inner end of the tab from a straight edge. I thought I was screwed. However I had one more move to try, and I hadn't yet put the pulled rivets in to the instruction, See next entry
|
|
|
|
|
|
|
|
|
|
|
|
|
|
|
Copyright © 2001-2024 Matronics. All Rights Reserved.
|