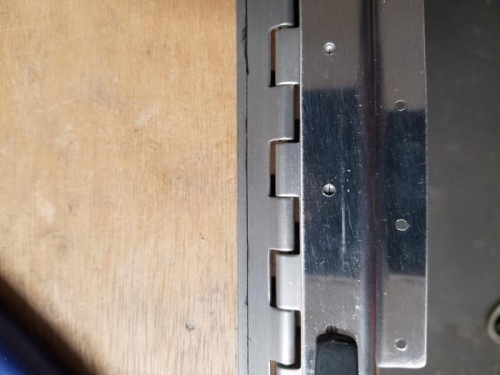
After match drilling the Trim tab, I used the dimensions in DWG 4 to draw a line 1/4th an inch back from the inboard hinge line edge of the piano hinge to set the trim tab at the propper depth dimension. After aligning the line to pass through the center of the all the drill holes I clamped the hinge in place and drilled and clecoed the holes using the trim tab as a drill guide.
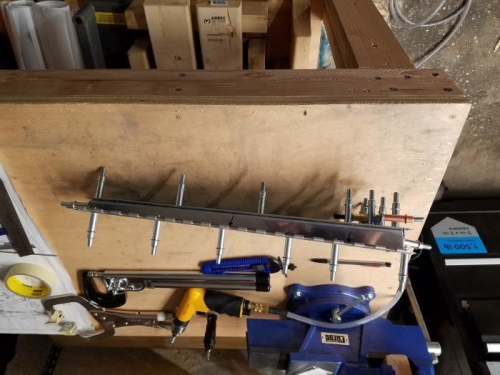
I also adjusted the lateral displacement of the trim hinge to ensure that the elevator side of the hinge had the furthest most trim hinge eyes on the left and the right of the trim tab assembly.
I then disassembled the entire assembly and prepped the spar and the trim tab horns for priming.