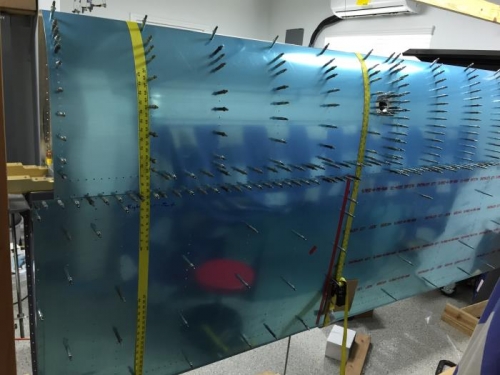
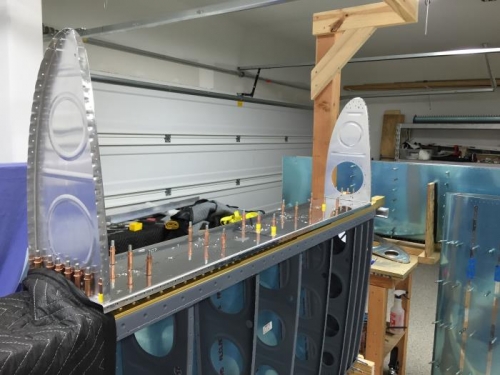
Drilled the fuel tank baffle to the z-brackets by first assembling the fuel tank, then mounting the z-brackets on the main spar. The fuel tank was positioned close to the leading edge and straps were used to make all the gaps between the top skin and leading edge as small as possible.
Then I proceeded to drill the tank to the splice plate (with #17 instead of #19) and to the bracket at the root. Next, I removed the leading edge and drilled into the outboard bracket. With the baffle locked into position, I removed the tank skin (leaving the inside and outside ribs) and drilled the baffle to the remaining brackets. The #17 instead of #19 will hopefully avoid cracks in the skin dimples, which by some is believed to be because the dimpling expand the hole a tad too much.
I reassembled the tank and drilled the skin to the ribs and baffle. Before it got too late I deburred the ribs and baffle (on the outside) with a countersink bit (to verify all holes were #40)) and the skin (on the inside).