Deburred the leading edge replacement rib. Went ahead and prepared the parts for assembly by:
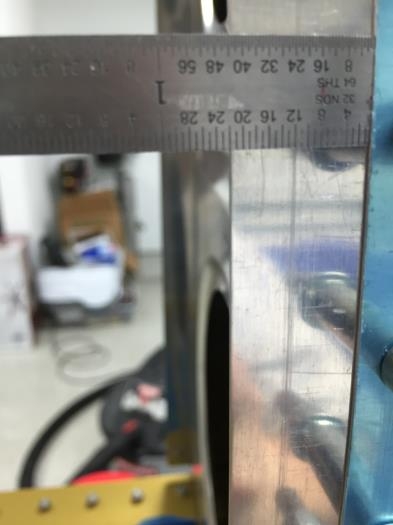
1. Drawing a 0.5 inch line on the splice plate and a center line on the undrilled rib flanges. These two lines are where I want the holes to end up.
2. Mount the rib and the splice plate into the leading edge.
3. Positioned the rib so that the line could be seen from the holes in the spar.
4. Used duct tape to keep it in position
5. Drilled from the spar side into the rib, clecoed and re-checked alignment
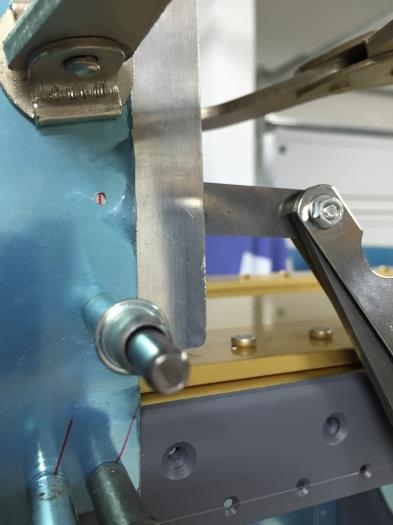
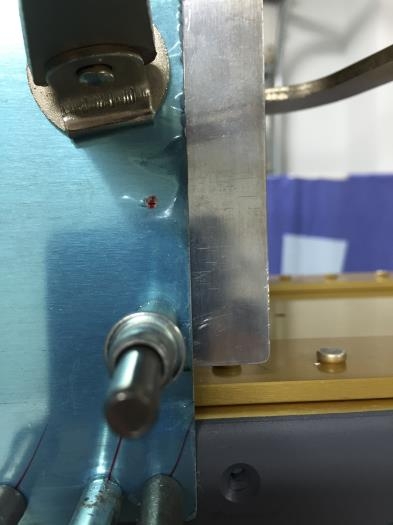
6. After checking the alignment, I put a steel blade between the plate and the rib to stop the drill bit to reach the rib. Drilled the plate when the drill bit hit the steel blade I stopped drilling and aligned the rib (line on flange) and clamped in place.
7. Drilled the rib through the splice plate.
8. Repeated the procedure for all the holes, while checking continuously checking alignment