Brief Description: Disassemble center spar for upgrade--rear
Disassemble center spar for upgrade
I decided to upgrade the center spar before assembling the skins to the wings because I eventually have to mate the center spar to the wings. I believe that it will be easier to work with the spars than it would with the assembled wings.
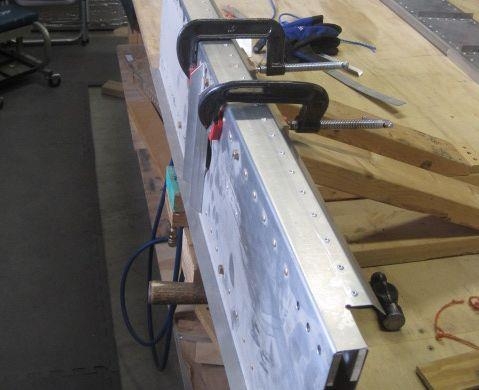
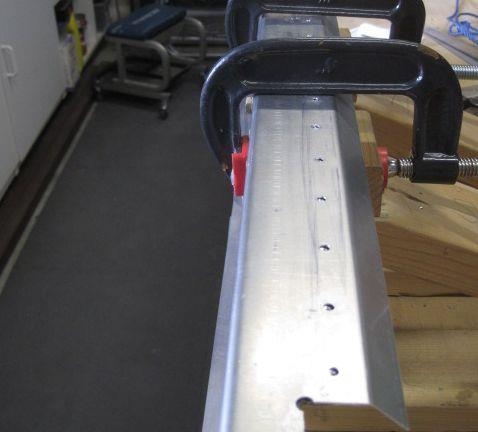
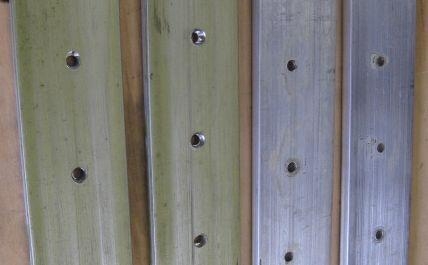
1. I clamped the center spar to my spar jigs on the work bench, see photo 1. 2. I drilled out the heads of the A5 rivets holding the forward spar to the rear spar. 3. I used a punch to drive the rest of the rivet from the holes. See photo 2 4. I removed the AN4 bolts, spacers, and washers holding the forward and rear spars together. 5. I used my solid rivet removal tool to drill the manufactured head from the solid rivets on the spar caps to the front web. I did this with the spar cap laying on the work table. I assumed that the rivets on the center spar were 3/16" rivets like the ones in the wing spar. Unfortunately, After drilling all the rivets, I discovered that the center spar solid rivets were 5/32. Thus I had been using too large a drill when removing rivets from the forward web. This led to enlarging the rivet holes in both the web and the spar cap. I believe that the only way forward at this point is to drill all the holes out to accept 3/16" rivets, and to put it back together with 3/16 rivets. See photo 3 which shows spar caps from both the front (on left) and rear caps (on rthe right). 6. After the rivet were drilled I knocked off the rivet heads with a cold chisel and a hammer. 7. Then I clamped the web and spar caps onto the jigs, and used a rivet gun with a 1/8" punch to drive out the rivet shanks. 8. A couple of times the punch left the rivet and created a series of dents in the spar cap. These will have to be dressed out.