1. Turn the aileron upside down, and position piano hinge and L-angle and securely clamp them into place using cleco side clamps.
2. Pilot drill 2/32" the front of the aileron, except for the rivets that will engage the aileron ribs and tip. Drill those 4 holes to #20 for an A5 rivet. See Fig. 1.
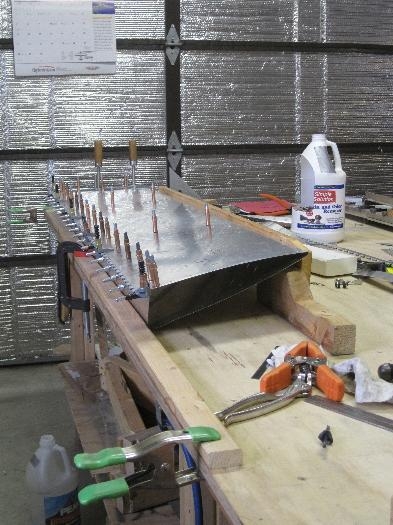
3. Prepare a jig to securely hold the L-aileron upside down at the edge of the table in position for drilling through the L-angle pilot holes and the front of the aileron. See Fig. 2.
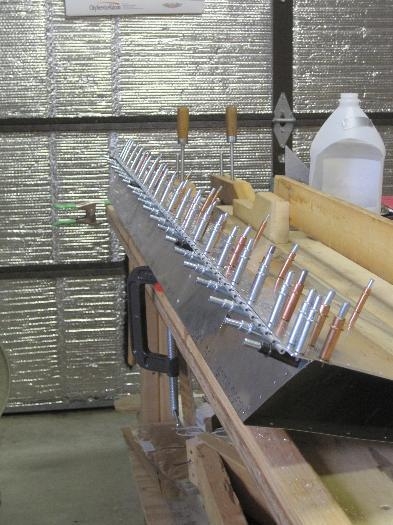
4. Pilot drill 3/32" the hinge and top flange of the L-angle through the pilot holes in the aileron top flange. I kept a long reach cleco side clamp adjacent to the hole being drilled to keep the 3-layer assembly tight together. Fig. 3 shows the aileron after drilling.
***5.*** At this point I realized that Zenair had released a new set of photo guides, dated 1/26/10, that effectively obsoleted the original set of guides, dated 12/15/10. The new guides include instructions on installing the aileron counter balances, gussets and trim servo mount. I will need to print copies of the revised guides and refer to them for the future upgrades.