
|

|
|
|
Terrences Web Site
|
Date: 10-21-2010
|
Number of Hours: 5.00
|
Manual Reference: 6-ZU-1-11
|
Brief Description: Drill & ream holes for left spar root doubler plat
|
|
1. Several weeks ago, used a transfer punch to mark the location of the holes in the left spar root doubler plate. Removed the doubler plate from the spar and pilot drilled the holes 3/32" and then 1/8". Further drilled the AN5 holes to 3/16".
2. Clamped the doubler back to the spar, carefully aligning the doubler holes with the holes in the spar caps. I had drilled and reamed the doubler attach holes in the spar caps to 0.247 previously.
3. Drilled the bottom doubler AN4 bolt holes to size C (0.242"):
- After drilling the most inboard AN4 hole, removed the spar to the table and reamed the hole, inserting the reamer shaft upward through the size C hole, clamping it with a spring clamp, attaching a hand drill, then reamed from the bottom up, taking care to keep the reamer shaft centered in the spar cap hole. See Fig. 1.
- Tightened an AN4 bolt in the reamed hole and repeated the procedure on the most outboard AN4 bolt hole.
- With the doubler held securely in place by the two bolts on the bottom of the spar and C-clamps on the top, drill the remaining 4 size C holes and ream as described above.
4. Drilled the most inboard bottom spar attach bolt hole to 1/4" and to then size L (0.290). Removed the spar to the table and reamed the hole to 5/16", bottom-up as before. Tightened an AN5 bolt into the hole. Then drilled and reamed the other two bottom AN5 holes.
5. Moved the drill press to the other end of the table and repeated this entire process for the AN4 and AN5 holes on the top of the spar. Figs. 2 & 3 show the final result.
|
|
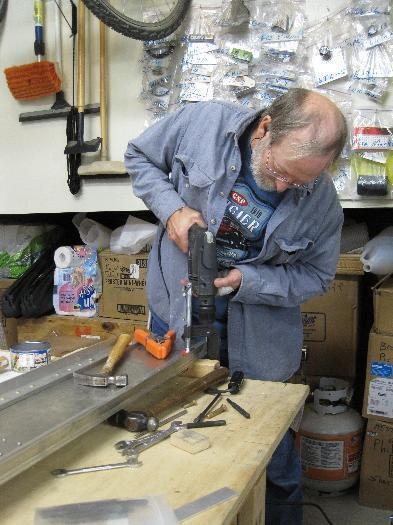
Reaming the 5/16" attach bolt holes
|
|
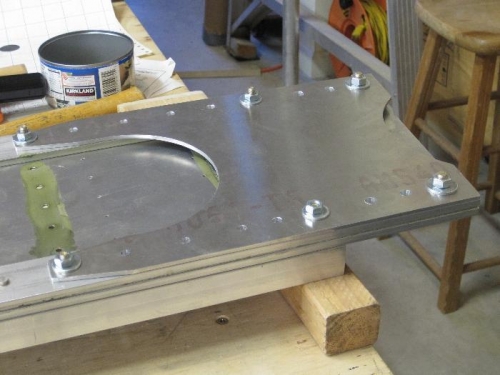
Doubler plate bolted in place
|
|
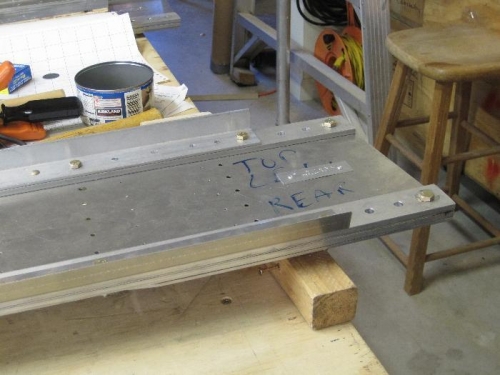
Left spar root
|
|
|
|
|
|
|
|
|
Copyright © 2001-2024 Matronics. All Rights Reserved.
|