
|

|
|
|
Terrences Web Site
|
Date: 3-20-2010
|
Number of Hours: 7.00
|
Manual Reference:
|
Brief Description: Remove solid rivets from spar 1/2
|
|
1. First step was to remove the rivet heads.
- I sharpened an old, very dull, ~3/4" wide cold chisel on one side using the desk grinder.
- I made up a shield to protect the spar cap and spar from the chisel, as shown in Fig. 1. The holes fit the 5/32" and 3/16" mfg rivet heads.
- I would place the shield with the rivet protruding through the shield, put the chisel against the rivet,
- hit the chisel lightly to just start to flatten the edge, then hit harder.
- It usually took about 3 taps with the hammer to knock off each rivet head. Both the 5/32 and 3/16 heads were easily removed.
2. Then I began to knock out the rivets, mostly using the rivet gun with the rivet gun pin punch. From my earlier practice sessions, I had a procedure (with, e.g., the 3/16 rivets, of starting with a 1/8" punch and then switching to the 3/16" punch). That worked OK for some rivets, but others were more stubborn, and refused to budge. The 1/8" punch would go into the drilled hole, and extrude the rivet shank around the punch, probably tightening the rivet in the hole. Eventually, on a couple of rivets, the only way to proceed was to literally drive the 1/8" punch all the way through the shank, then to drive out the remainder of the hollowed shank with a 3/16" punch.
|
|
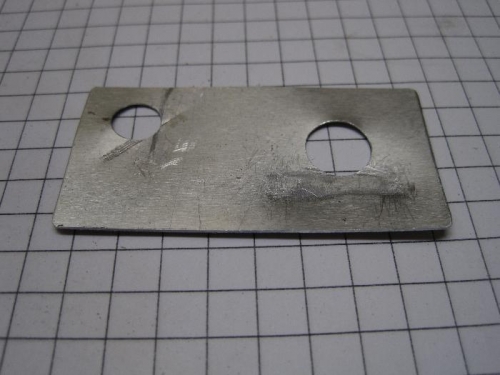
Shield of 0.016 aluminum scrap
|
|
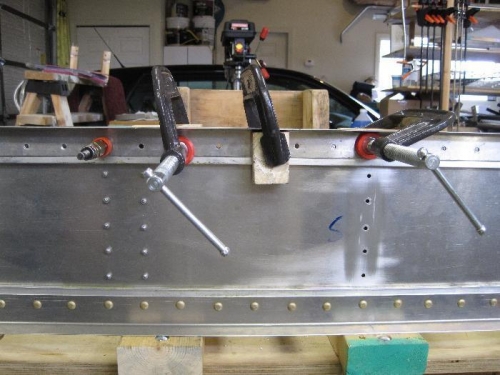
Clamp setup for rivet removal
|
|
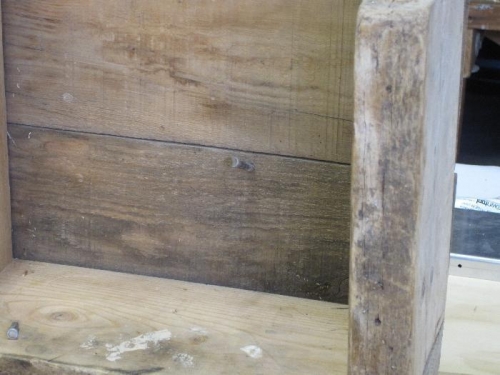
Ejected rivet impaled in backstop
|
|
|
|
|
|
|
|
|
Copyright © 2001-2024 Matronics. All Rights Reserved.
|