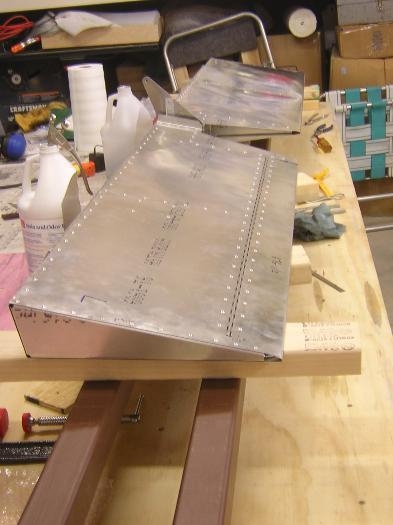
1. Clecoed ~every third hole. Noticed a rather large (67-mm) gap in the rivet spacing for the hinge, just to the right of the top control horn. Decided to drill for an A5 rivet midway between the two existing holes.
2. Opened up the elevator and vacuumed to remove all metal filings.
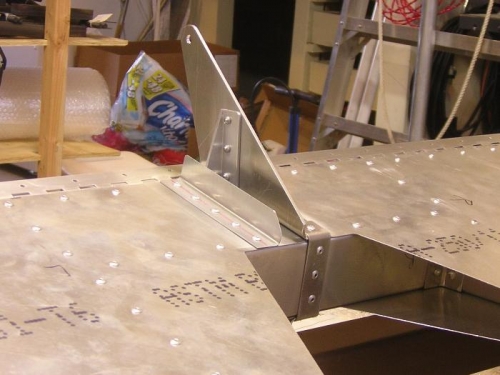
3. Clecoed the trim tab servo in place. Then attached the servo control rod to the trim tab.
4. Clecoed ~every third hole.
5. Checked the movement of the trim tab. Tab moved up 19° and down 40° as near as I could measure. Close enough to the specs of up 20° and down 40° for me.
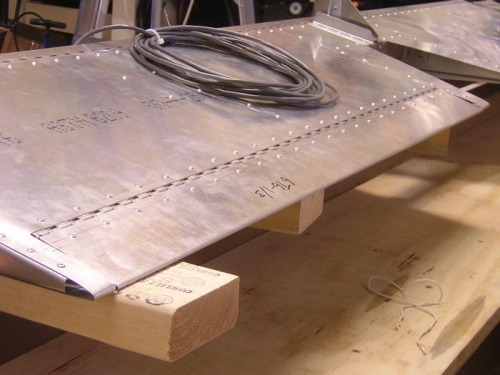
6. Riveted all the open holes. There were a couple of rivets that required the hand riveter because of insufficient clearance.
7. Forgot to put the stainless steel A5 rivet in the rear hole of the upper horn. Checked the Matronics Archives for information. ZodieRocket stated that the rear bent strip with stainless rivets had been added to the design 3 years ago to meet an LSA consenus standard. All 601's built to pre-2004 drawings did not have the bent strip and used only aluminum A5 rivets. I deicded that it wasn't worth drilling out the aluminum A5 and replacing it with a stainless A5. I did use the stainless A5 on the bottom horn, as specified in the latest drawings.
8. Weighed the parts completed so far, using weight difference on my bathroom scale.