
|

|
|
|
Terrences Web Site
|
Date: 8-4-2007
|
Number of Hours: 2.50
|
Manual Reference: 6T1C7-8
|
Brief Description: Clamp the skeleton to the work bench
|
|
1. I worked on setting up the clamp down a few days ago, and found that I was having trouble getting the skeleton flat to the table using wood screws to clamp the rear spar to the table. Also, it appeared that the left end of the skeleton was ~10 mm higher than the right end.
2. So, I got some #10-24x2 round-head machine screws and put them through 3/16" holes drilled in the clamp-blocks and the table. Tightening the screws did a good job of pulling the rear spar flat to the table (Image 1&2).
3. The left end of the front spar was about 22.5 mm above the table. The right end was about 10 mm above the table. So I put shim on each side under the outside rib to bring them both to 21 mm±0.5 mm.
4. Then I used a trisquare to check the ribs for square. I found that, at the outside ribs, the front spar put the ribs slightly closer together than the rear spar, so that, if the trisquare were placed on the inside of the spar, the end of the measurement blade was about 1 mm away from the spar. It was the same on both sides. When the skeleton was in the position, the other spars were similarly oriented w.r.t. the ribs. So I concluded this was as square as it gets.
5. I screwed the shims in place and the blocks (to hold square), checking for twist and square after each screw. Now I just hope it will still be square and w/o twist after I get the skin on. (Image 3) I'm also hoping that the skin will help hold in square after the rear spar clamps are removed.
|
|
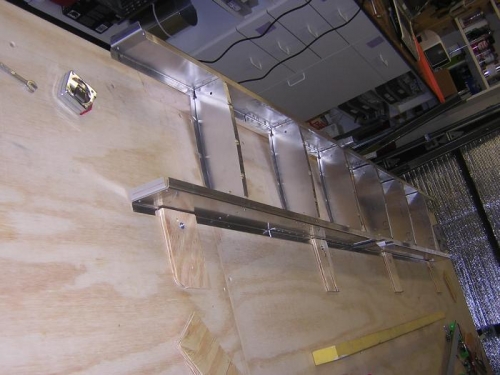
Stab rear spar clamped to table
|
|
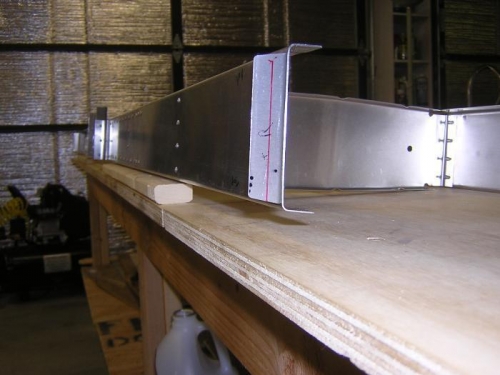
Front spar
|
|
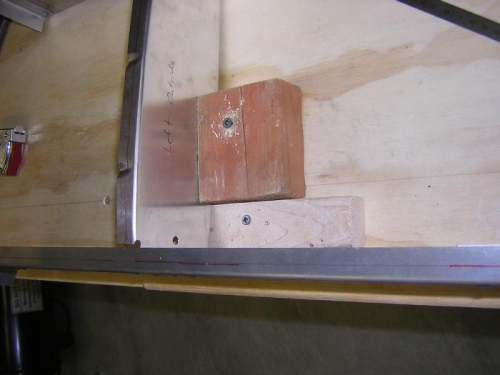
Shim and block on left end
|
|
|
|
|
|
|
|
|
Copyright © 2001-2024 Matronics. All Rights Reserved.
|