I removed all the clecoes from the bottom of the elevator skin (I left the ones on the front of the skin in place).
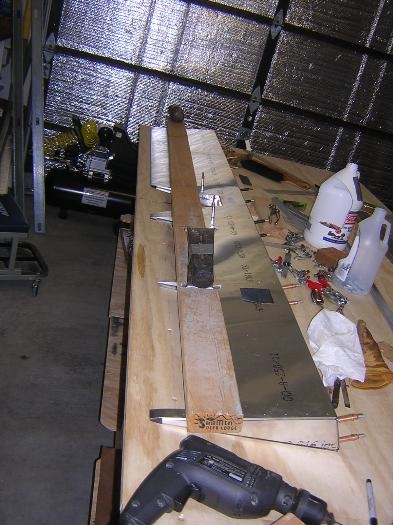
Image 1: I used a straight 2x4 (hard to find) with a sledge hammer head and two log splitting wedges as weights to force the skeleton and frame down to the table (which is very close to planar). I checked the alignment of the holes in the skin with holes in the ribs. Fortunately, the only ones that were off at all were holes in the left center rib. Those holes are now #30, but will eventually be drilled out to #20, so I should be OK.
I drilled & clecoed the alternate holes while pressing down on the 2x4 to guarantee that the elevator was flush with the table top.
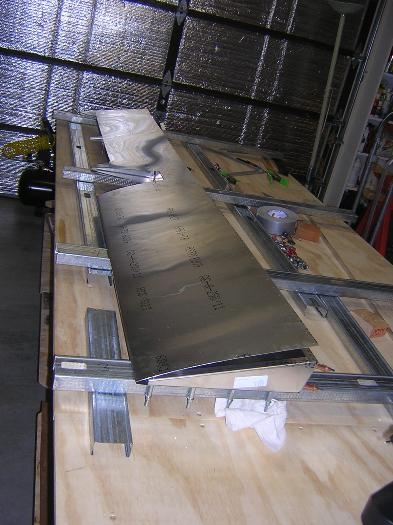
Image 2: I removed the 2x4, tuned the elevator over (onto rails to protect the clecoes).
Image 3: I arranged the rails so that each cross rail was underneath a rib. I put the 2x4 & weights on top of the elevator to again force everything into a planar geometry, drilled and clecoed with a #40. The assemble appears to be within a mm or so of planar. Zenith Construction Standards (ZCS) CS106 gives a maximum twist tolerance for the elevator of 6 mm between IB and OB trailing edge. I interpret that as between the centerline and either outboard edge. If I'm within ±2 mm from end to end, I'm surely OK. The proof will be when I rivet it and lay it out on the table.