
|

|
|
|
Terrences Web Site
|
Date: 7-2-2007
|
Number of Hours: 3.00
|
Manual Reference: 6T5-12
|
Brief Description: Rivet rudder skin to skeleton
|
|
I inserted the ribs into the rear skin, lined up the ribs with the holes and clecoed. I did this on the metal rails, with the called for 0.75" support at the bottom trailing edge. Then I placed the rudder into the assembly jig on the table to insert the nose skin. I had to put a couple of short 2x4's under the rudder to get clearance for the nose skin on the sides. Once I got it lined up on the top end, I started clecoeing the side at the table edge, every 2nd or 3rd hole. The I climbed onto the table and did the same to the back side. I found one other hole in the rear skin that was too big for an A4 rivet, so I drilled it out for an A5.
I riveted, starting from the rear edge of the middle ribs, up to the hole next to the spar. Then I worked out and did the ribs at the top and bottom of the rudder. Next I did the nose skin rib, and then the nose skin-rear skin-spar rivet line on the table edge side. Then I climbed onto the table and did the other side, similarly.
Finally, I set the rudder on the table and took a photo to check for symmetry. It's hard to see the rudder against the clutter in the background, but to my eye it looks just fine. Hallelujah! First part done. Hopefully what I've learned on the rudder will speed up my work on the rest of the plane.
|
|
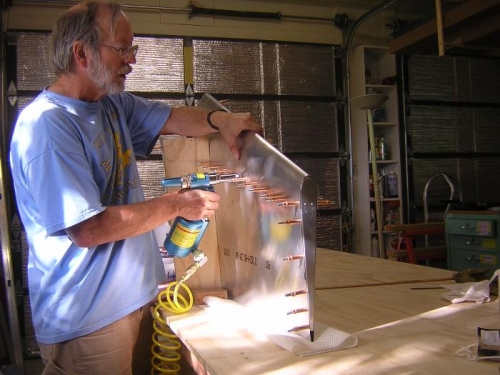
Riveting the skins
|
|
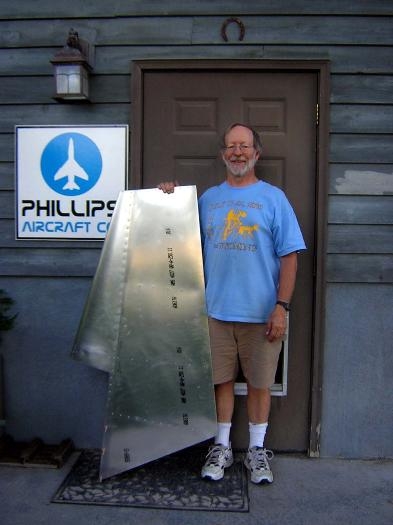
One finished rudder.
|
|
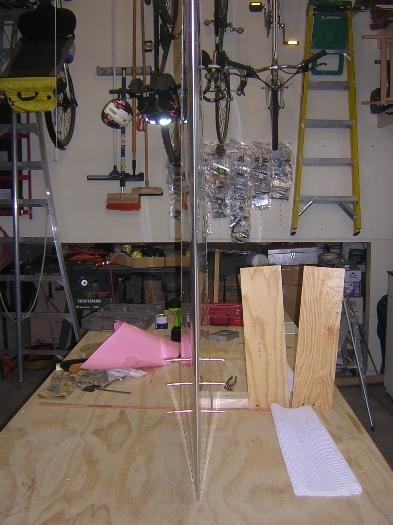
Check for symmetry
|
|
|
|
|
|
|
|
|
Copyright © 2001-2024 Matronics. All Rights Reserved.
|