Brief Description: Complete riveting bottom of elevator, work on wiri
1. Removed the clecos form the bottom of the elevator and put in the remaining rivets. The newly adjusted riveter performed well.
2. Decided that I should forge ahead with the electrical connections for the trim tab servo:
- I have decided to used modified d-sub connectors as suggested by Bob Nuckols and others on the Matronice Aeroelectric Forum: http://www.aeroelectric.com/articles/macservo/macservo.html, and http://www.aeroelectric.com/articles/dsubs/d_solder.html.
- I purchased a supply of solder-type DB-9 male connectors from Action-Electronics.com. It was difficult finding vendors for the solder-type connectors. Action-Electronics had a good variety of product at reasonable prices.
- I soldered some AWG 22 wires to one of the DB-9's for practice.
- I found that it was very difficult to get solder to stick to the metal shells for spot soldering as suggested by Nuckolls. I decided to leave enough metal in the connector shell so that the two sides would not come apart easily, and to run a bead of epoxy around the edges of the metal shell.
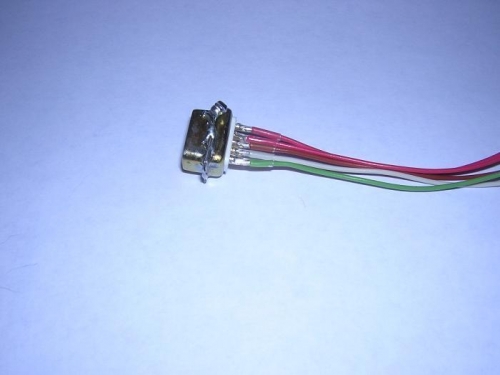
- I soldered the wires to a DB-9 for practice, following Nuckolls procedure for soldering DB-connectors.
- I used clear shrink wrap around the ends of the wires. See Fig. 1.
- I think it would work better to use ~25-mm pieces of 3/32" shrinkwrap and then to add a piece of 3/8" shrinkwrap around the wire bundle, ~18-mm behind the solder joints. that should give more strength to the connector.
- Nuckolls recommends using a layer of shoe-goo type adhesive to encapsulate the plug.
3. Before I complete the wiring, I need to make an updated wiring diagram to specirfy the conductor positions in the connector.