
|

|
|
|
Terrences Web Site
|
Date: 7-2-2007
|
Number of Hours: 2.00
|
Manual Reference: 6T5-12
|
Brief Description: Assemble rudder skeleton
|
|
The primer was much less sticky after drying over night. I began assembly at about 2:30.
1st I drilled 0.375" holes and installed grommets in the ribs to provide a path for wire for a strobe on the top of the rudder, should I decide to install one later. I put the holes 50-mm from the spar on the rib centerlines and installed grommets. Then I clecoed the ribs to the spar and threaded a string through the holes and taped the top end to the top rib.
The primer was much less sticky after drying over night. I began assembly at about 2:30.
1st I drilled 0.375" holes in the ribs and installed grommets to provide a route for wire to power a strobe on the top of the rudder, should I decide to install one later. I put the holes on the rib centerlines, 50-mm from the spar, and installed grommets. Then I clecoed the ribs to the spar, threaded a string through the holes and taped the top end of the string to the top rib. Hopefully, I’ll be able to grab the string should I ever decide to pull wires through for a strobe.
Then I riveted the ribs to the spar. The electric outlets on the west wall must have been wired with 14 or smaller wires, because the compressor’s built-in breaker kept tripping when it was plugged into the outlets above the workbench. I avoided the problem by plugging the compressor into an outlet on the east wall, and running a long air hose across the garage to my work table. Even so, sometimes the rivet gun failed to pull out the mandrel, and I had to trigger the gun 2 or 3 times.
|
|
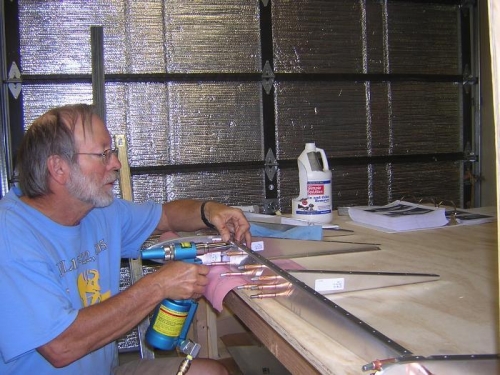
Riveting ribs to the rudder spar
|
|
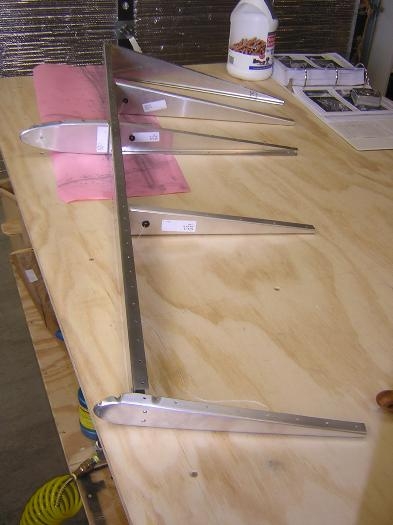
The Rudder
|
|
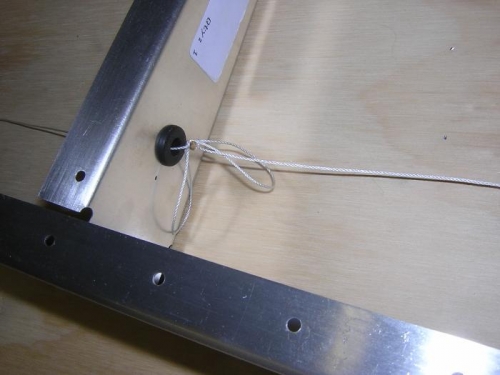
String in grommet
|
|
|
|
|
|
|
|
|
Copyright © 2001-2024 Matronics. All Rights Reserved.
|