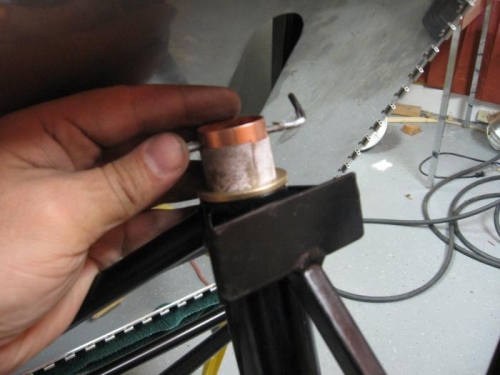
Worked on the nose gear. The bushings that fit the nose strut were *very* tight, and I didn't like the amount of resistance (almost impossible to turn the strut by hand, so I made a sanding tool out of copper pipe wrapped in super fine grit sand paper (see pic 1) and worked the inside of the bushings (a lot!) until the strut turned well by hand.
I since found out from the factory that the tight fit is normal, but it would have to lead to extra control force in the rudder pedals, so I'm glad I worked on the bushings. If it leads to problems in taxi testing such as wheel shimmy I can always replace the bushings, but I don't think it will be an issue.
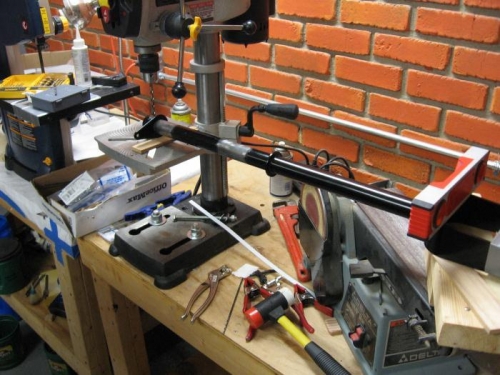
I then drilled the nosewheel horn to the strut. Trying to precisely align the horn to make the pilot hole was a pain, but using a drill press and vise I got it done. I then put the strut and horn on the drill press (leveled and aligned to make sure the horn was in the correct place and the holes were straight and perpendicular to the whole assembly. When updrilled and checked it all came out great.
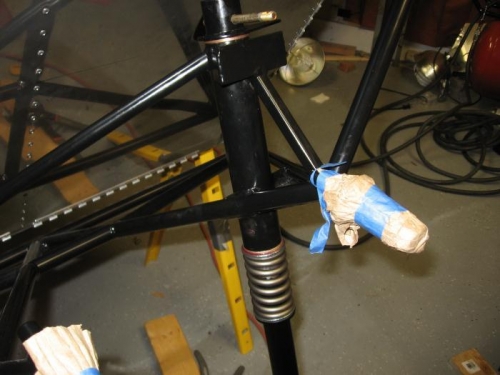
I then attached the strut spring and washers on the strut, greased everything per the plans, and installed the assembly in the motor mount (pic 3).