Brief Description: Riveted nose ribs and front spar
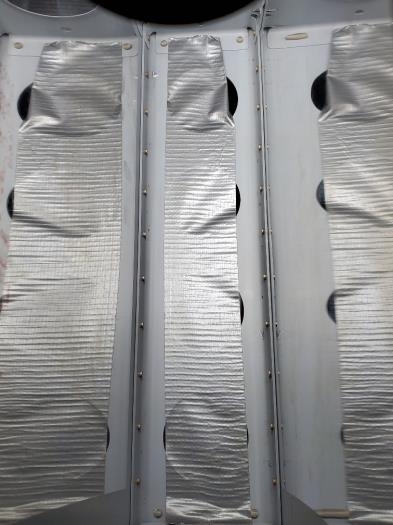
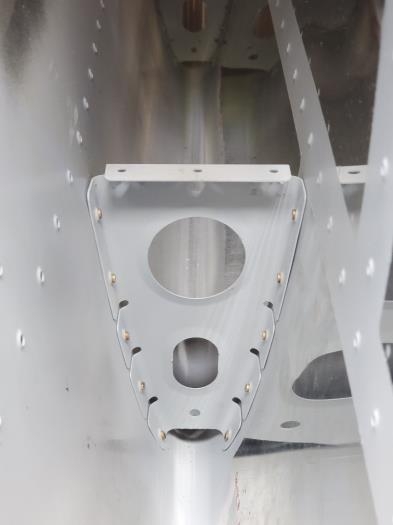
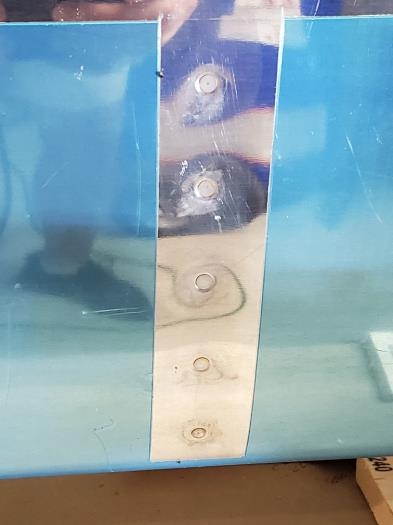
Mike came over to help with the nose rib riveting. Did a few practice rivets on a scrap piece until we felt comfortable. We still had some issues with the angle of the leading edge rivet and also with the flanges and skin not wanting to stay tight together. It took some manipulating of the skins to get the pieces to lie flat but we managed. The forward most nose rivets were not great but acceptable. They tended to slant to one side. I tried using the 5/8"x1"x4" on that one but ended up going with Cleaveland BBRV10 which is technically made for the empennage which worked a little better. Once the top 4 rivets of each side of the nose ribs were set, we took the assembly out of the cradles and laid it flat on the bench. This helped keep the skin tight with the rib flange, as this was part of the issue. This technique coupled with the use of the BBRV10 bucking bar created acceptable results. Once all four nose ribs were done we inserted the front spar assembly and began riveting along the spar per the instructions. I put some duct tape on the lightning holes to prevent anything from falling down into the nose section. This part went much smoother.
Note: I had to drill out 2 nose rib rivets because they were slanted a little. In hindsight, I should've left them alone as experience has shown on those tight spaces that the first was probably the best one.