
|

|
|
|
Matt Dralle's RV-6 Project
|
Date: 10-16-2011
|
Number of Hours: 1.00
|
Manual Reference:
|
Brief Description: Instrument Panel Final Assembly - Part 01
|
|
Project HOBBS Meter: 50 days
With all of the parts back from powder coat and the interior paint complete, it was time to get serious about reassembly. After the rudder pedal assemblies, I focused on preparing the instrument panel for installation. All of the various components got installed, then the wiring harness reinstalled, and then the support braces got bolted back on. I decided to replace all of the engine controls with shiny new units including a new Throttle, Prop, Mixture, Carb Heat, and Cabin Heat control. Wow, they really made the new instrument panel POP!
As I previously mentioned, I reused the King KX125 TSO Nav/Com from the original installation. The bezel was kind of worn, though, and so I ordered a replacement bezel and the three plastic lens inserts and then installed them on the unit. Wow, POP, again! It made it look like a brand new radio! A note here; I was amazed that I could still get bezel parts for a circa 1997+ radio. I just sent an email to Pacific Coast Avionics (PCA) in Oregon and asked them for the specific parts I wanted giving them the model and serial number of the radio. They ordered them up and I had them in about a week and a half. BTW, PCA's price was about 30% lower then a couple of other quotes I got for exactly the same parts.
After I got all of the parts and harness installed in the instrument panel, it was time to slip it into the airplane. Wow! So cool! I couldn't believe how awesome it looked! And I barely scratched anything getting it in there, either! I added my "industrial looking" #8 socket head, black oxide stainless steel screws and declared it a "work of art"!
Cont Next Log...
|
|
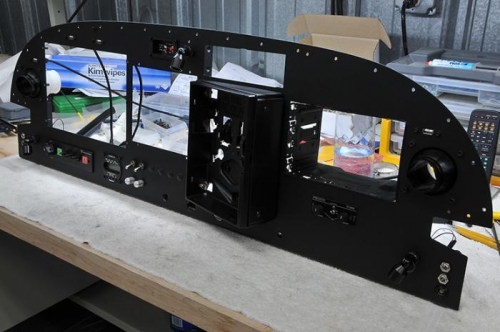
Instrument Panel Final Assembly
|
|
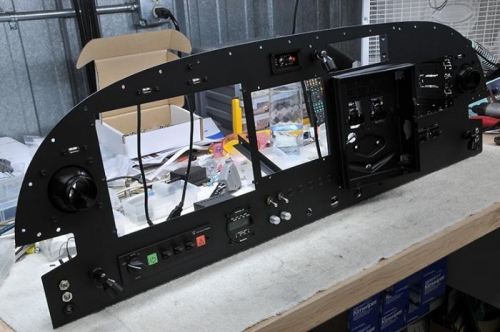
Instrument Panel Final Assembly
|
|
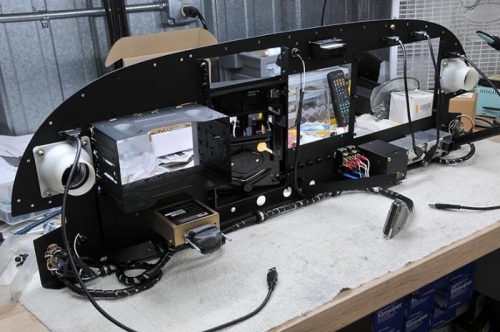
Instrument Panel Final Assembly
|
|
|
|
|
|
|
|
|
Copyright © 2008-2024 Matt Dralle. All Rights Reserved.
|