Time to start the assembly of the horizontal stabilizer. If you are about to start this step, consider this as an alternate build process. The manual "suggests" that you cleco the HS-707 nose rib into the top of the skin and then rivet it in place. I found that the natural bend of the skin tends to pull away at the front of the rib and just a tad at the rear. Next you temporarily cleco the rest of the ribs (HS-706, 707, 708) and skins on both sides and then finish the other side of the nose rib.
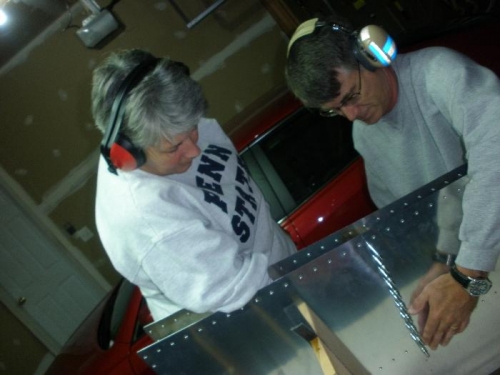
*** If I were to do it again, I would skip to step two and cleco up the ribs (HS-707, 706 and 708) to the skins on both sides and then rivet the HS-707 nose rib on both sides. Access to rib is is actually pretty good and if you cleco everything up on both sides, the HS-707 nose rib is held in place nice and tight. I had to drill out one rivet due to a slight space at the back of rib. The front of the rib came out o.k. but it was not alot of fun trying to keep it pulled up tight and bucking at the same time. So, cleco both sides up along with the HS-706 tip rib and HS-708 rear rib and the job is a piece of cake.
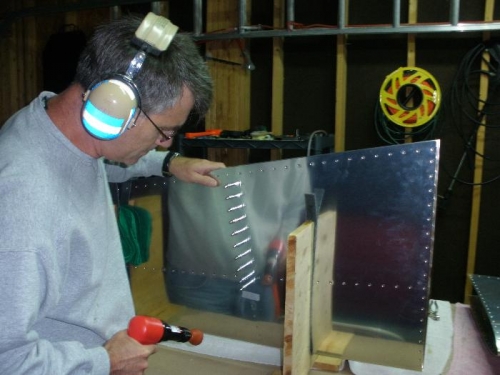
The rib stands were templated from the tip and nose ribs. They help stabilize the structure while riveting and fitting. I oversized the inside dimension to allow enough room to shim the skin with shop towels. I did not see any need on making them fit like glove. It will also allow you to spread the skin a little for better access inside.