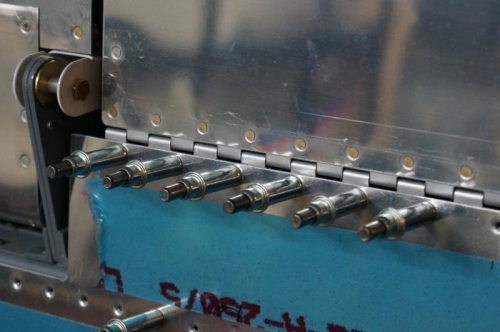
Positioned the LH flap on the LH wing and match drilled the flap hinge to the wing skin and flap brace.
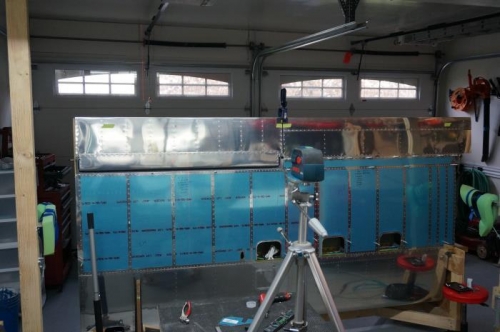
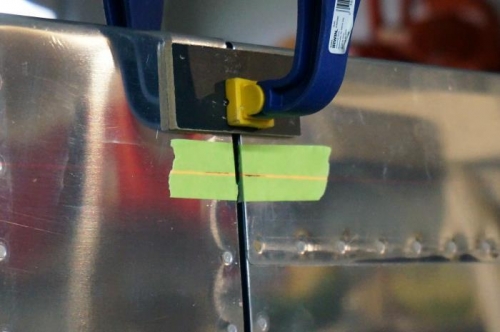
I used a laser level to aid in aligning the trailing edges of the aileron and flap. First I installed the aileron jig and positioned the aileron in the neutral position. Then I drew lines an equal distance forward from the trailing edges of the flap and aileron at their outboard and inboard edges. I placed the laser level line on top of the inboard line on the aileron and then used a floor jack under the wing leading edge at one end to level up the wing so the laser line projected on both of the lines on the aileron. Next I taped a quarter inch drill bit to the inboard edge of the aileron to provide the specified spacing between the aileron and flap. I clamped the flap in place against the drill bit spacer and adjusted the forward /aft position of the flap until the two marks were on the laser line. After I verified with a straight edge that the trailing edges of the flap and aileron were in line I match drilled through one of the outboard wingskin/flap brace holes and into the flap hinge. I placed a cleco in that hole, rechecked the alignments and drilled another hole at the inboard end. I put a cleco in that hole and checked alignments again. Satisfied that everything was still positioned correctly I drilled all of the remaining flap hinge holes working from the outboard in and installing a cleco in each hole after drilling.
I then flipped the wing cart 180 degrees and began the alignment process with the RH flap but had to stop before drilling due to other commitments.
Using a laser level to align the flap and aileron trailing edges