Brief Description: Installed elevators. Wired up pitch trim servo
Wet sanded the primer on the elevator tips. Sprayed and sanded a few more times to remove imperfections.
Wet sanded the filler primer on the rudder tip and bottom. Sprayed them with sandable primer
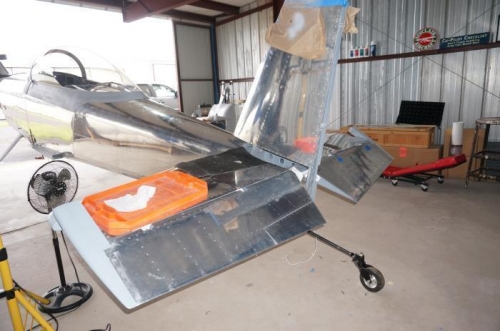
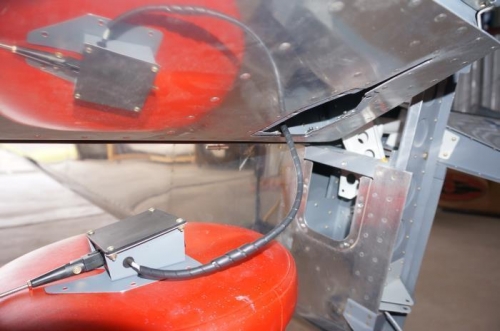
Installed the elevators on the horizontal stabilizer. Torqued and torque striped the nuts.
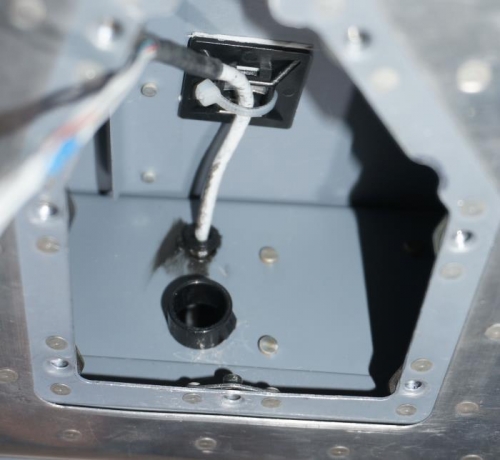
Terminated the ends of the wires coming out of the pitch trim servo with D-Sub pins. Cut the trim servo wire harness to length and terminated the wires with D-sub sockets. Connected the D-sub pin/socket combinations together and shrank heat shrink tubing over each one.
When I attempted to install the pitch servo back in the elevator, I realized that the snap bushing in the elevator spar that I had run the trim servo wire through is there to allow clearance from the front of the pitch servo rod. To avoid potential issues with wear on the wire I disconnected the D-subs, pulled the wire out, drilled a new hole adjacent to the existing one, installed a snap bushing and routed the wire through it. I then reconnected the D-subs and installed the servo assembly back into the elevator.
Tested the pitch trim function and found that the motion is reversed. Commanding down trim on the trim switch moves the trim tab in the up trim direction and vise versa. I'll troubleshoot it next work session. I might just need to switch the two white wires on coming out of the trim servo.