Cut two 2X4s 29 1/4 inches long to match the top to bottom distance of the firewall next to the exhaust exit. Used the 2X4s to space the aft end of the upper and lower cowl while they were fit together sitting on the floor. Lined up the forward ends of the cowl halves and drilled #30 holes in the LH and RH inboard sides of the inlets for clecos.
Installed the upper cowl on the fuselage.
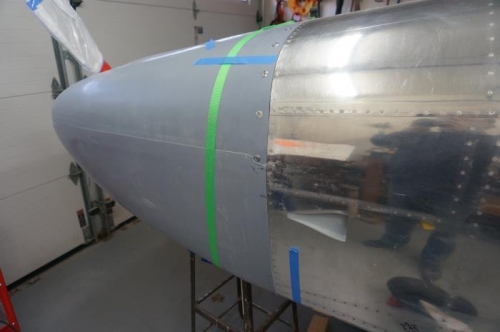
Marked a line 2" aft of the forward edges of the lower forward skins.
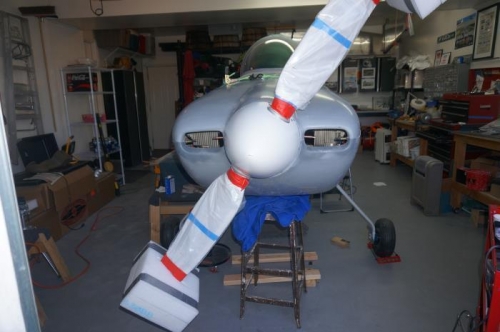
Positioned the lower cowl on the fuselage and clecoed the forward end to the upper half with the holes drilled earlier.
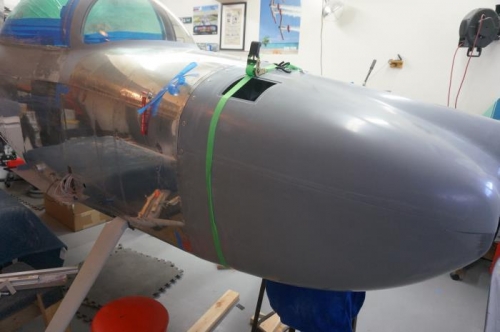
Used a cargo strap to pull the aft end of the lower cowl up against the upper half.
Drew a line 2 inches forward from the line drawn on the lower forward skins. Removed the lower cowl, trimmed the aft edge close to the line and then used a long sanding block to sand the excess material to the line.
Reinstalled the lower cowl to check the fit. Marked areas along the aft edge that needed additional sanding. Removed the lower cowl and sanded the aft edge as required. Repeated this process a few times to get a good fit.