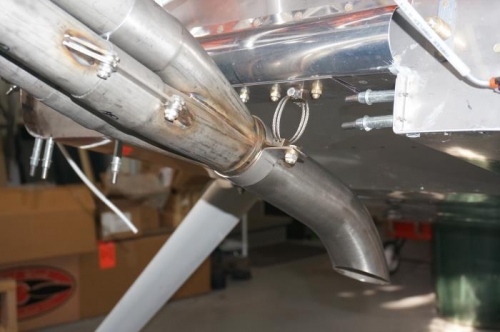
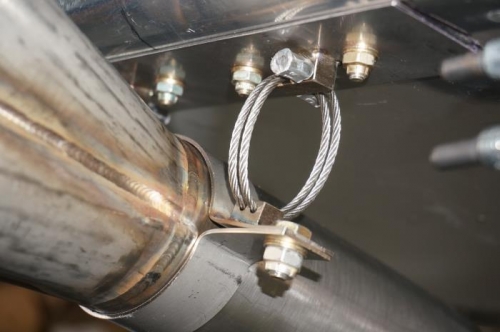
The only thing remaining for the exhaust system installation was to install the cables that support the aft end. The cables make up two loops on each side of the exhaust collector and are threaded through holes in the blocks welded to the support plate bolted to the bottom of the fuselage and a clamp around the exhaust collector. The difficult part was keeping the cable ends from fraying after cutting. If I cut the cable with a hack saw or a cut off wheel the ends would immediately fray and the frayed ends were too big to fit through the holes in the support blocks. After researching online, I found a method that worked great. I clamped the cable in the vise with a few inches sticking out and chucked the other end in my cordless drill. I then pulled the cable tight with the drill (not spinning yet), and heated the cable with a torch. When the cable was red hot I pulled the trigger on the drill with it set in reverse and as the cable twisted it snapped leaving a nice, frayless end which would fit through the holes.
The instructions from AWI say to install the cables in the blocks to get the proper length and then to remove the support plate and bracket and then use a center punch to swage the support blocks to lock the cable. I didn't like this idea because I wouldn't be able replace the cable if necessary in the future, so I simply swagged cable stops onto each end of both cables.
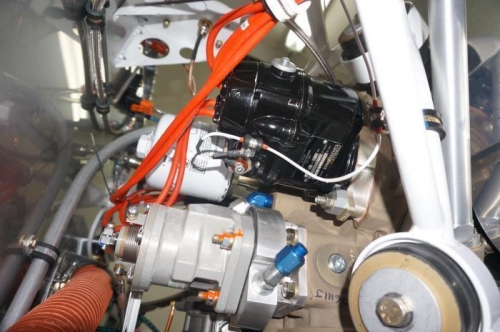
I also reinstalled the RH magneto which had been returned from Kelly Aerospace after they repaired the stripped P-lead stud. I then Installed the RH P-lead and secured it to the engine mount with Adel clamps.