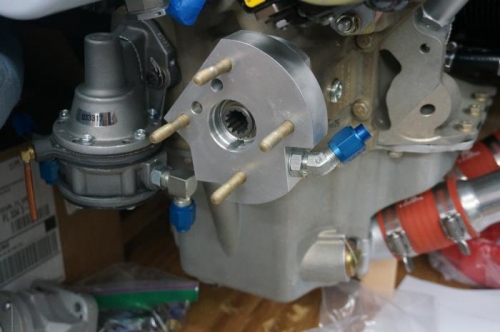
Installed the four studs in the prop governor adapter that will hold the governor in place. I used SL31C-16 studs purchased from Aircraft Specialties. I lubricated the threads with Aeroshell grease and installed two nuts tightened together the drive the stud in. The running torque was more than 25 in-lbs which is per the Lycoming spec so I won't need to get oversized studs. Set the stud height to 1 1/2 inch.
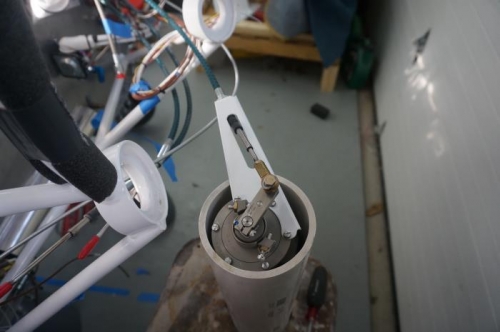
Cut and removed the safety wire from the screws on the back of the governor and loosened the screws. Rotated the center of the governor to move the actuator arm to the correct clock position that will line it up with the prop cable travel. Removed three of the screws and installed the cable bracket on the governor using those screw holes. Verified the clock position by fastening the forward end of the prop cable in the bracket, screwing a rod end on the cable and aligning the rod end with the governor arm. The prop fine pitch position on the arm appeared to line up with the forward most throw of the prop lever and cable. Removed the cable from the bracket.
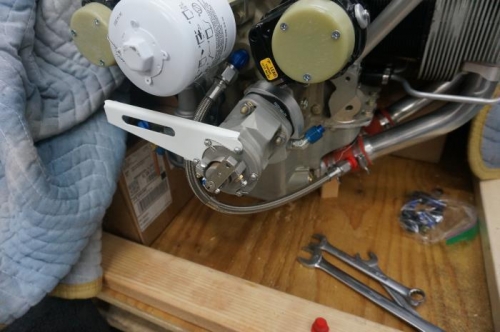
Reinstalled safety wire on the six screws on the front of the governor.
Installed the governor on the engine. Torqued the nuts to 200 in-lbs