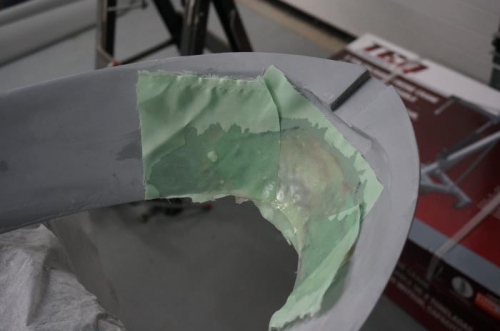
Sanded the aft center part of the canopy skirt to remove the "hump". Noticed that the fiberglass was getting thin in that area so I decided to layup some reinforcement plies on the IML. Sanded the primer and filler from the inside where the layup will be. Cut four small plies and layed them up with epoxy on the IML of the aft ramp of the canopy skirt. Covered the layup with peel ply.
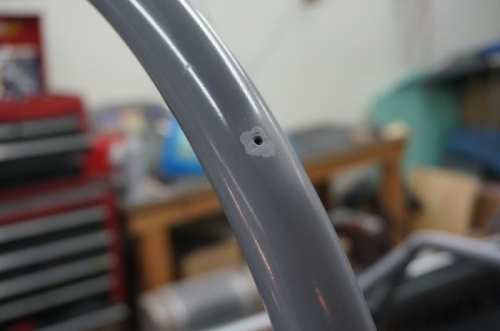
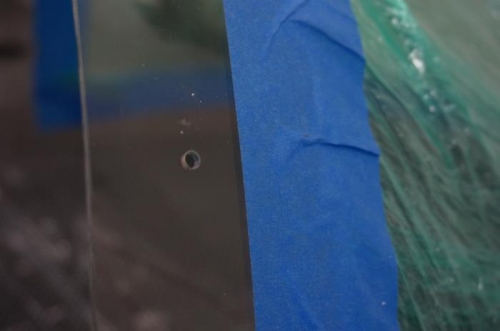
Applied a layer of white electrical tape on the wind screen support. Marked the location of the top center mounting hole on the electrical tape. Marked the remaining holes with 3.5 inch spacing per the plans. Positioned the windscreen and taped it in place. Drilled #40 holes through the windscreen and windscreen support at the point where my hole location marks intersected the tangent lines that appeared where the windscreen contacted the windscreen support.
Removed the windscreen and opened up the #40 holes in the windscreen to #28 (using a Plexiglas drill to open it up the #30 and then a twist drill to open it to #28). Opened up the #40 holes in the windscreen support to 7/32 inch and tapped them all to 6-32. Managed to break two taps in the process but the pieces left in the support were easily knocked into the windscreen support tube with a automatic center punch.
Replaced the cap screws holding the avionics fan and grill to the forward top skin with button head screws with look better.