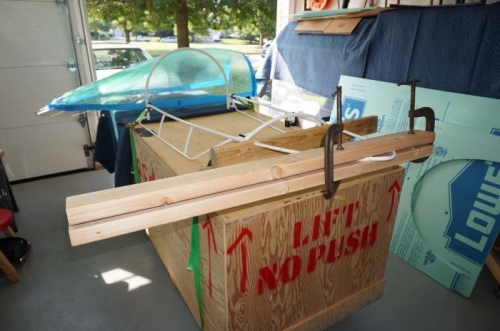
Strapped the canopy frame to the finish kit crate. Clamped two 4 foot long 2 x 4 s to the aft bow and pulled up on the outboard end of the 2 x 4 to apply a twisting force to the aft bow to straighten it out. It took two attempts but I was able to get it close to straight.
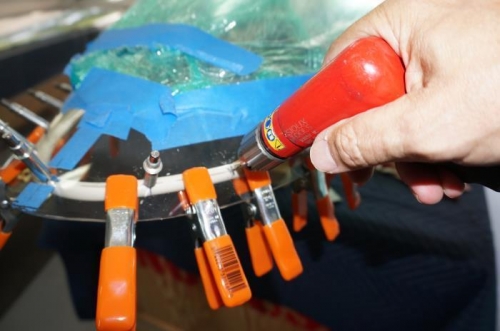
Rechecked the rivet hole locations, clamped the canopy bubble in place on the frame and drilled #40 holes through the bubble and the frame. Installed clecos after each hole was drilled. Before I put the bubble on I had applied a layer of white electrical tape to the frame where it contracts the Plexiglas. When the Plexiglas was clamped tightly to the frame a dark line could be seen through the Plexiglas at the point of contact. This shows the exact location to drill so that the hole will be on the tangent point.
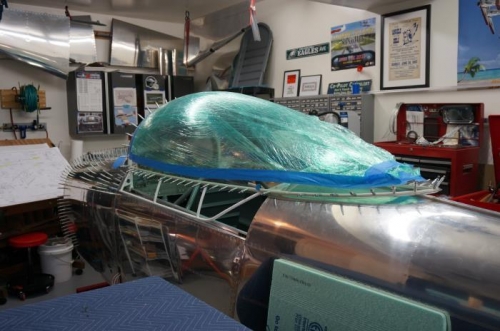
Marked the final trim line for the canopy edge at the front, sides and rear. Removed the bubble from the frame and trimmed to the line using the cutoff wheel, belt sander and the edge of scissor blades.
Reinstalled the bubble of the frame and test fit it on the aircraft. Overall I'm happy with how it came out.