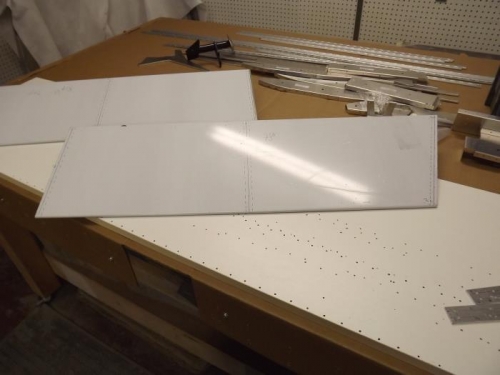
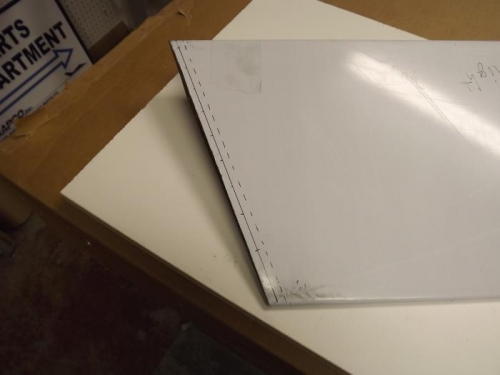
Cut both L & R elevator skins and marked for drilling the ribs. I made a couple drill guides out of Home Depot 1/8" by 1" aluminum strips. There are 4 drilling guides, 2 for top and bottom of small ribs used in Rudder and Elevator and 2 for top and bottom of Elevator root end ribs. I typically draw a center line for the holes on the control surface skin. Locate and drill the first rib hole via measurement and center punch. Then I cleco the drilling guide onto the skin, center it on the center line then drill and cleco the remaining holes.
For drilling the actual rib flanges, for the end ribs I screw on small wood blocks to the rib surface via the tooling holes. then insert the rib into the skin and push it all the way in untill the blocks are up against the skin edge. Then drill through the skin holes into the rib.For the rib in the center of the rudder and the center of each elevator I will mark a centerline on the rib flanges and push the rib into the skin form lining up the skin hole with the rib centerline.