Brief Description: Brake Line, Pee line, and other good stuff
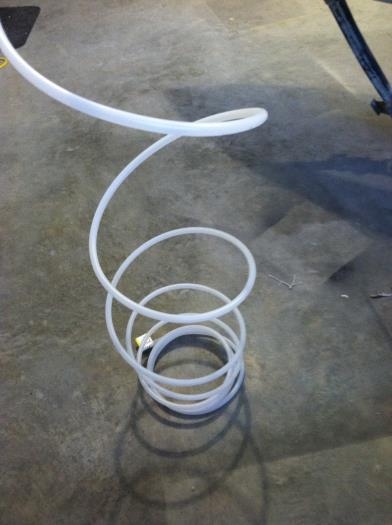
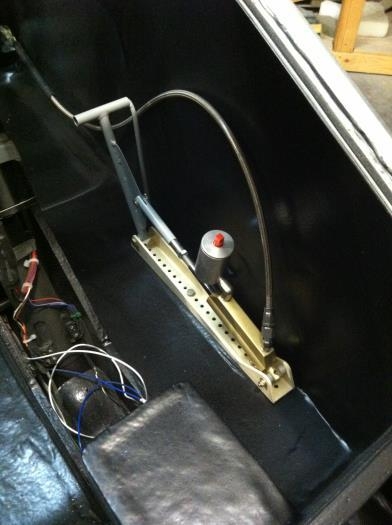
So Technically I should put each of these conduit lines in their respective chapters but I'm just gonna consolidate this one time :) First the Pee line. Yep, engine vibration and coffee will be the death of me so a relief tube is a MUST. Not sure how detailed I will get in documenting the finished product here, but you'll get the just of it. It runs from under my thigh support to out the back gear leg. It will NOT be routed into the wheel pant because of Heat and the fact that the wheel pants will come off from time to time as this will be perminently floxed in place. The next Conduit housed the brake lines. The conduit goes from behind the gear legs and terminates at the instrument panel. In the pics you will see a large half loop of break line. This is intentional so that if someone Really tall ever needs to move the brakes forward, it won't require any brake line modifications. To fill the brake lines with fluid, simply bend the excess to a point lower than the reservoir and lift the nose till the reservoir is at the highest point in the system. Fill from the caliper up and you're done :) now just put the brake lines back into postion and go fly. The 3rd line was the wriring conduit which I selected to be 3/4" ID smooth bore. This 7.5' line will allow me to run every wire in the system through one path from the panel all the way back to the firewall.