Since I made an error on the first rib and forgot to clearcoat the inside of the big gussets on the trailing edge of the rib, I decided to clearcoat a bunch of them at once today so I'm ready to go next time. I don't want to be in the middle of gluring up a rib and then have to worry about it.
Also, the rib is epoxied with a viscous epoxy that's 11 and 300 combined. The clear coating used the 300 but substitutes 22 hardener in place of #11. This has a couple of effects. First, the #22 is much less viscous and flows much better. It weighs less, too. It's much easier to work with on larger areas.
One of the neat things about T-88 or Greer's epoxy is that the clear coat and the structural epoxy are completely compatible. This means I can clear coat the gussets today and next week, or the next hour, I can epoxy right over the clear coat with no loss of strength. I'll scuff sand the surface of the clear coat where it's going to meet epoxy but that's it. It couldn't be easier and that's one of the big reasons to use epoxy to build the plane.
I only worried about clear coating one side of each gusset or compression rib side. That's because this will become the INSIDE of the finished rib. The outside of the finished rib will get clear coated when I clear coat the assembled wing.
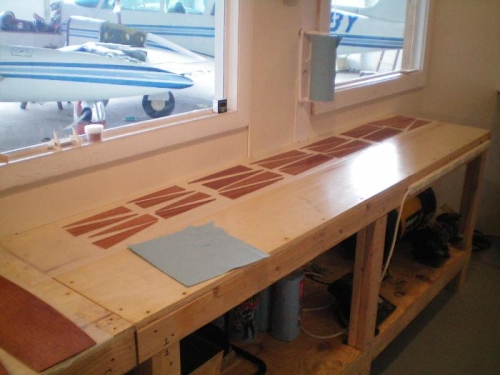
Clearcoating the big trailing edge gussets.
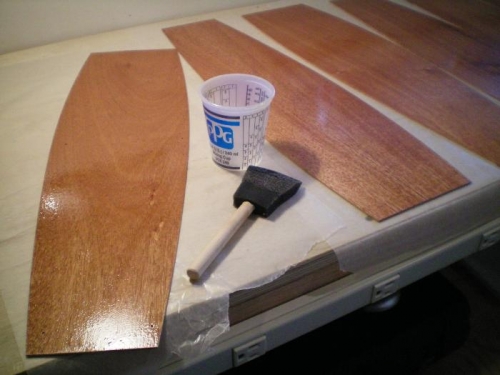
The brush used to apply the clear coat to the compression rib sides (big gussets).
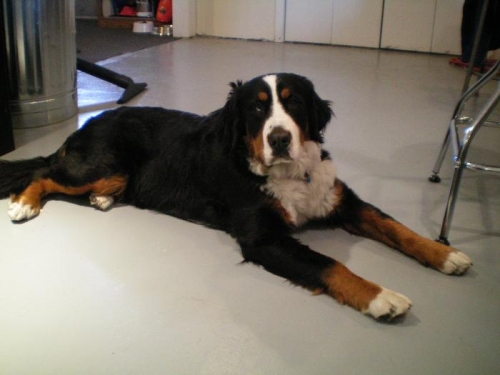
Penny, the shop mascot, doing her job... stress relief for the builders.