After gaining some confidence in the filling process, I have decided to proceed with a larger surface. The Tailplans.
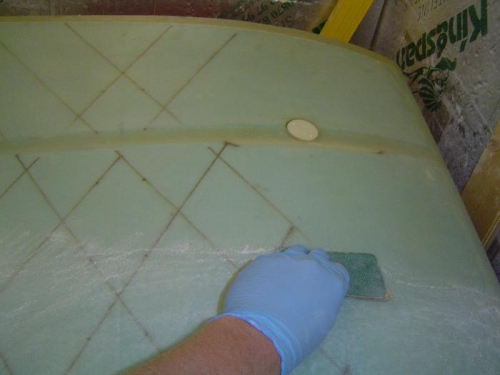
First preparing the surface by scuff sanding lightly to remove any surface contaminants and to remove any shine from the surface. I then cleaned the surface with Acetone to remove any grease that may be present.
I applied the filler in 3 layers after first covering the surface with a neat resin mix to create a tack surface for the filler to fix too. I applied the filler in 3 layers first layer will fill the weave on the surface, a second makes the profile of the tail plan to shape The third layer is to make sure there are no low areas.
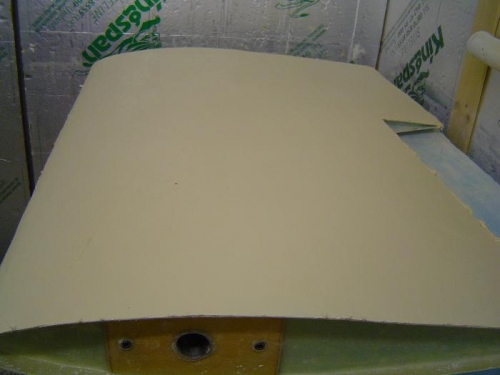
After cure the Sanding process. Taking off the rough tops with a very cores sanding, the gradually using finer sanding paper until the desired surface is achieved.
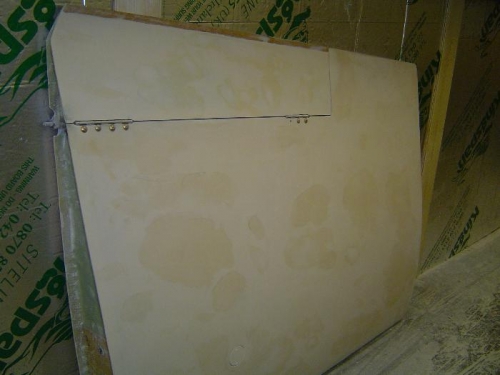
I did have to re-apply filler to some low areas that are low and to fill some very small pinholes. But both Tailplans turn out very well with a lot of sanding and dust.