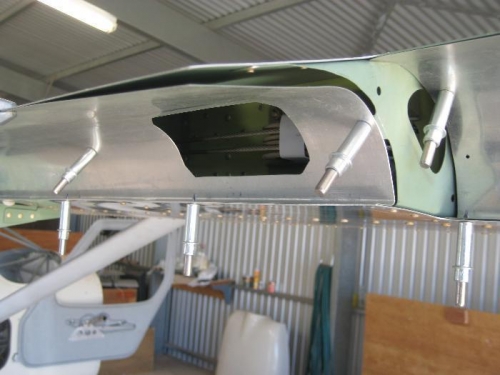
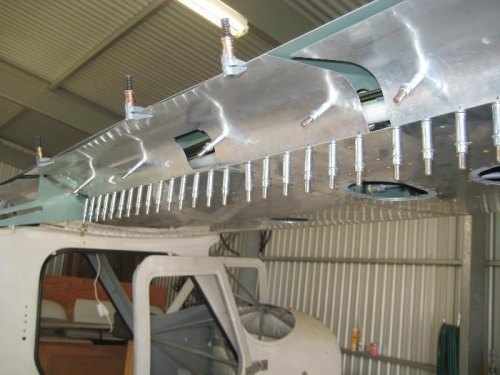
The cove skins were pre-cut which was great. The flap and aileron cove skins fit between the trailing edges of the upper and lower main skins to close out the aft end of the wing. Installing them was challenging in areas. We cleco the tabs and lower section to get every thing in place. Where we had difficulties was where the electrial channel holding the wires protruded and this made it difficult to get every thing flush. We fixed this problem by using a hair dryer to make the plastic channel softer and this way we could close it all together. The bottom of the cove skins are now ready for rivetting. The top of the cove skins are bonded with special adhesive which we have needed to source. We need to come back to this when the materials arrive.
Jake Janson who has built his own plane and has his own avionics installation business called in on Sunday and spent a couple of hours looking over our contruction. He gave Darren a few tips and ideas which were very helpful. His comments over all were very satsifying. Jake is going to be doing all the avionics in our plane as we want to leave this job to the professionals. Jake has taken away the panel for the plane and he will start putting together the avionics.