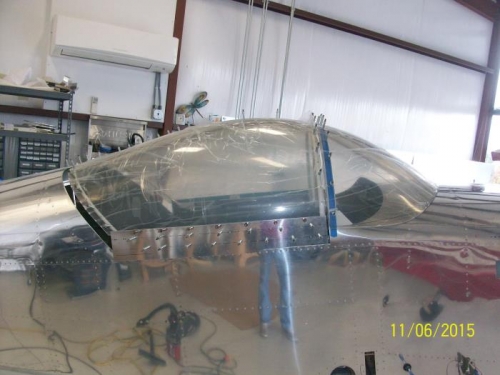
I took advantage of another warm day to get the windscreen fitted and drilled. The fitting was a series of placing it into position on the fuselage, marking areas for trimming, removing the windscreen, trimming and sanding edges, back onto the fuselage. It took another 6 or so trims to get it where I wanted. Once the trimming was complete I drilled the rear edge of the windscreent to the roll bar. The windscreen was then removed, holes enlarged to required size and countersunk for #6 screws. The holes in the roll bar were enlarged to proper size and tapped for 6-32 screw threads. Mounting clips for where the windscreen meets the top skin were prepared.
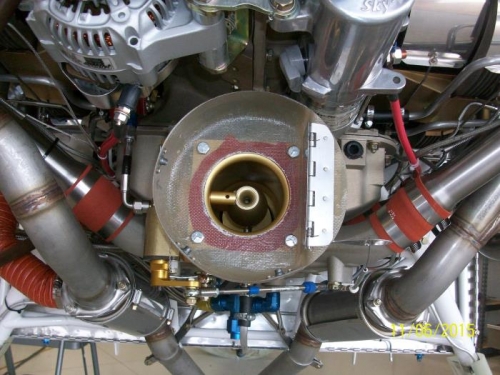
The induction air system backplate was mounted to the fuel injection servo using gasket material to form a seal between the two. The left two bolts will be replaces with ones with drilled heads so they can be safety wired. The two on the right were intstalled with red Loctite and will be captured below the transition piece.
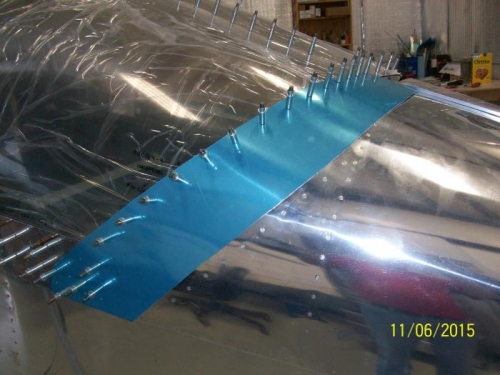
The left rear skirt was cut to shape from sheet aluminum stock. It was then drilled to the rear of the canopy and frame. A strap duplicator was used to locate the existing holes in the canopy and frame and to drill the hole in the skirt. There is a slight compound curve but by starting at the top and working down while applying forward pressure to the bottom of the skirt I was able to get the rear edge to pull snugly against the fuselage skin. This was another dreaded task that turned out to be a lot less daunting than I had feared.