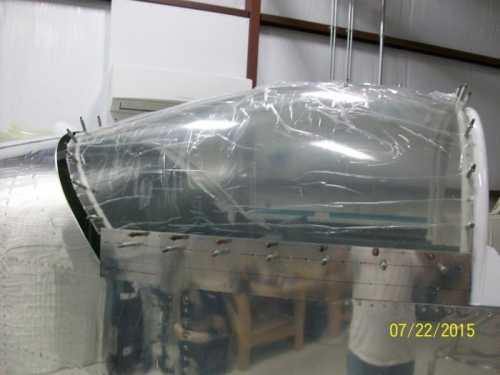
Today I drilled the canopy to the canopy frame. Both were removed from the fuselage and the canopy was clamped and taped to the frame in proper alignment. Drilling was done front to back and center to sides. Out of an abundance of caution I would drilled 6 or so hole through the plexi with a plexi bit then change to a standard bit to drill through the powder coat steel frame. I mostly didn't want to dull the plexi bit. The process was time consuming but all of the holes were drilled without a problem. The canopy was clecoed as I went.
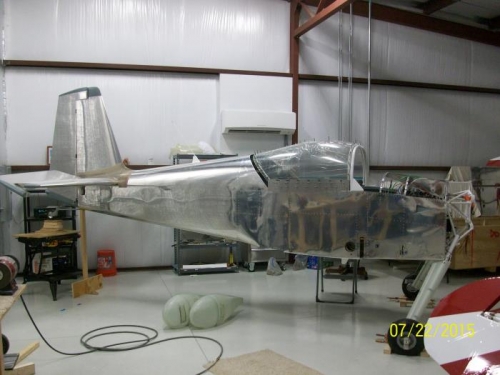
Once all drilling was done I disassembled and placed the frame back on the fuselage and then clecoed the side skins back to the frame. The canoly was then placed on top of the frame and clecoed in place. A slight adjustement was made to the slider rail to raise the back edge of the canopy slightly.
The screw holes where the canopy sides screw to the side skirts were drilled first to #40 and then enlarged to #30.
I assembled the canopy latch and did a trial fitting to see howm much of the bushing on the canopy frame will need to be cut off to fit.