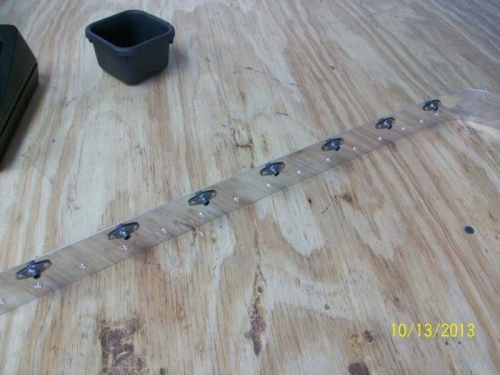
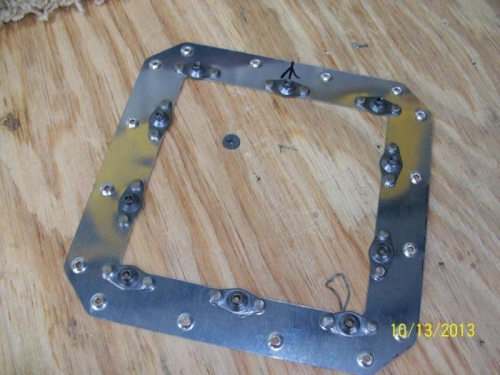
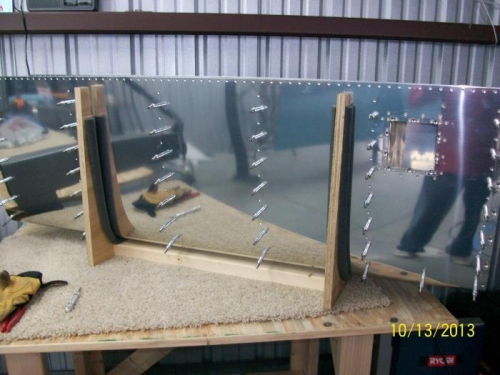
Removed the left leading edge and prepared it for riveting. First I clecoed the access plate doubler to the skin and match drilled it Access plate doubler was then dimpled for rivets and screws and nutplates riveted to it. Leading edge components disaasembeld and nose ribs clecoed to front spar for match and final drilling. Splice plate was drilled for platenuts. Ribs, skin, splice plate and access plate doubler all deburred and then dimpled as required. Nutplates riveted to splice plate. Leading edge then reassembled using clecoes and readied for riveting. Set the first few rivets, and left a few "smiles" in the skin. I need to remember to work on the underside first so I can get my mushroom set skills back before riveting the top side!