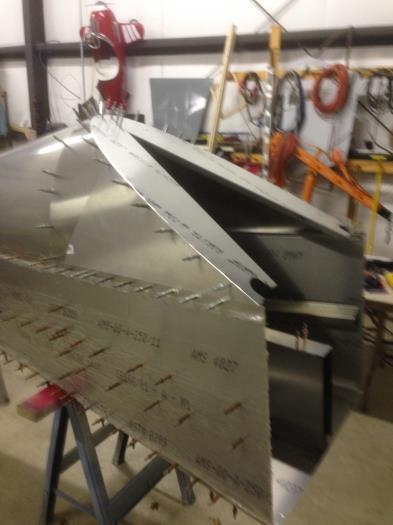
I finally received my # 1 Turtle deck formers and was able to get them installed today. The build manual explains very well the steps needed to get them installed correctly. The first step is clecoing the side skins to the # 2 formers and sliding the bottom edge under the side skins. Then the bottom edge was matched drilled to the side skin holes.
Next, I had to trim a small amount off the very top flange on both # 1 formers so they would seat nicely against the # 2 Formers. I found it was better to hold these formers in place with one hand at the top and mark two drill holes with my sharpie pen through the pre-drilled side skins. I then laid the formers on my table, center punched them and drilled # 40 holes. Then I placed clrecos in these holes and proceeded to drill from top to bottom putting a cleco in each hole as I drilled. Then I up drilled all of the holes to # 30.
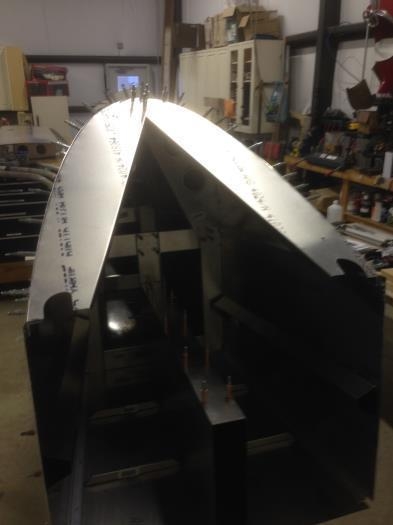
Time to call it a day. My next visit will entail tearing the entire structure apart for deburring.