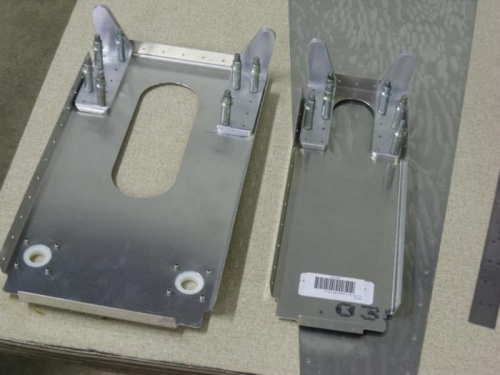
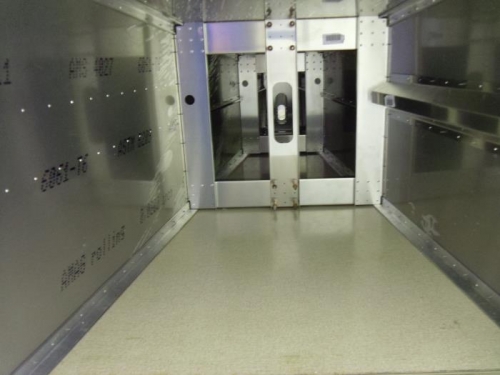
I spent the first hour chamfering a radius onto the 4 bulkhead reinforcement angles so it would fit under the top longeron. The hour included removing the labels with acetone and deburring the edges with 150 grit sandpaper. I needed to establish the height of the reinforcements so I used a spring clamp to hold them into place on the bulkheads; clecoed one side of the bulkhead to one of my side skins and then adjusted the height of the angle so it would fit snug against the upper longeron. Then it was a matter of drilling & clecoing the parts together. Next I clecoed all of the bulkheads to my right side skin, lifted that onto my worktable and then clecoed the left side skin to the bulkheads. I flipped the box over and laid the bottom skin in place and clecoed the skin to all of the bulkheads. This skin was kinda floppy at the very front so I used some spring clamps and the forward rudder cable guide to stiffen it up. This ensured the skin would fit in the right spot. I will match drill the bottom skin to the longerons tomorrow and then updrill all of the holes to # 30 but not the upper longerons just yet. Before I do that I need to get the turtledeck ready and set in place.
I think I have siad it before but I will say it again. The parts fit together extremely well. I am very impressed.