
|

|
|
|
Dave's RV-10 Build Log
|
Date: 9-26-2016
|
Number of Hours: 6.00
|
Manual Reference:
|
Brief Description: Flap Actuator Assembly Install
|
|
Installed the torque tubes, flap crank, and flap horns into the fuselage with the UHMW bushings per the drawings. Bolting the flap horns together in the tight confines between the side skin and the inner F-1016 was difficult due to my big hands, Bolting these all together before attaching the flap motor allowed for rotating the assembly to better get wrenches onto the bolts to tighten them.
Once bolted up, there was some friction on turning the assembly without the motor installed. I checked with Van's technical builder support and they said this was normal so long as it wasn't difficult to turn by hand (it's not), and suggested possibly squirting some silicon lube into the UHMW bushings to reduce the drag.
Installed the flap motor and bolted it up, including the safety wire per the drawings.
Set the fiberglass cabin cover into place on the fuselage. The doors are still too wide to properly fit into the fuselage door openings. With the door opening of 37 inches and the ourside of the fiberglass doors currently at 37.25", an additional 1/8" will need to be removed from both the front and rear of the fiberglass door opening. This will result in a front side fiberglass flange thickness of only 3/16" and a rear flange thickness of only 5/32" which seems thin. So before proceeding, I called Van's Technical Builder Support phone line to check. They said this was normal, and that the fiberglass is not providing structural support at this location, so getting it to such thin dimensions was acceptable.
|
|
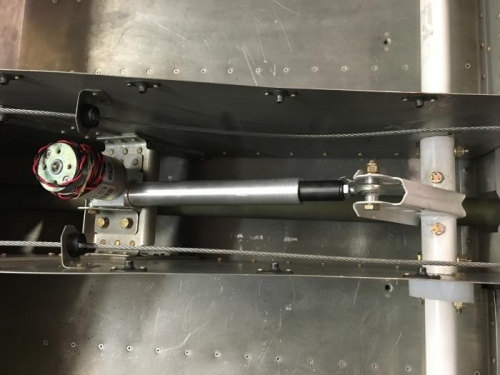
Flap Motor
|
|
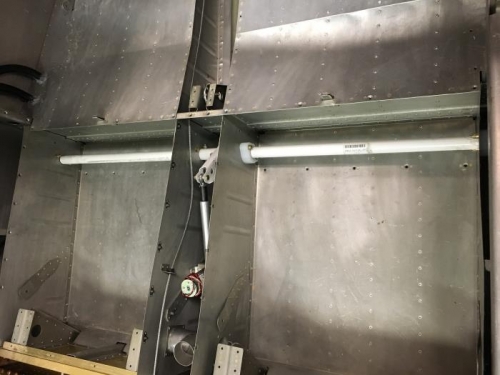
Flap Actuator Assembly
|
|
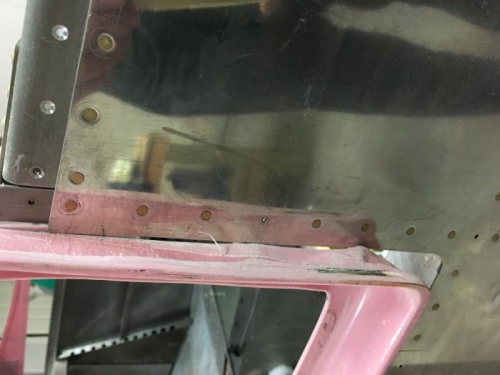
Fiberglass Fit Into Door Opening
|
|
|
|
|
|
|
|
|
Copyright © 2001-2024 Matronics. All Rights Reserved.
|