
|

|
|
|
Dave's RV-10 Build Log
|
Date: 3-9-2016
|
Number of Hours: 8.00
|
Manual Reference:
|
Brief Description: Tailcone Initial Fit-up
|
|
Initial fit-up of tail cone parts
- Continue to build bulkheads. Match drill, dimple flanges using "Main Squeeze", debur, and rivet together
- Cut longerons to lengths specificed in plans. (Phil did cutting while I worked on bulkheads)
- Place bottom skin upside down on saw horsed. Attach bulk heads to bottom skin with clecos
- Mark center drill line on bottom longerons, slide into place thru bulkheads and clamp.
- Match drill holes into bottom longerons, inserting clecos every 6", then drill all reamining longeron holes
- Cleco left skin to bulkheads, insert 3 side longerons thru bulkheads and clamp front & rear
- Drill holes into left side longerons ~ every 6" inserting clecos, then drill remaining holes
- Cleco right side skin to bulkheads, insert 3 right side longerons thru bulkheads and clamp
- Flip tailcone upright on saw horses.
- Drill right side longeron holes as was done with left side.
- Insert rear 2 bulkheads into assembled tail cone and cleco in place.
- Check rear bulkheads for level and drill holes for braces.
- Disassembled built up tailcone back into individual components to allow for deburing.
- Separated several additional tail cone parts using band saw and cleaned up/debured on Scotch Brite wheel.
Packed everything up for shipment Richmond, TX shop by Partain Trucking, once Quick Build wings and fuselage are ready for shipping from Van's Aircraft next month. Synergy Air will store all empenage elements until that time.
|
|
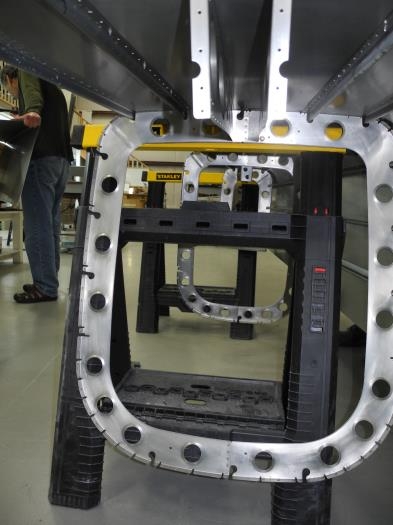
Tailcone Upside Down
|
|
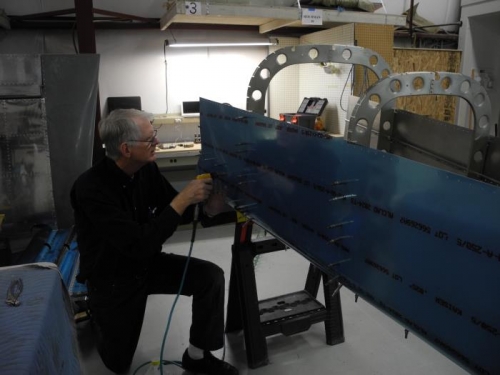
Drilling side longerons
|
|
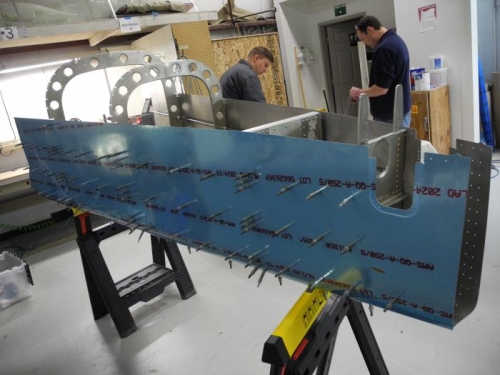
Tailcone ready for disassembly
|
|
|
|
|
|
|
|
|
Copyright © 2001-2024 Matronics. All Rights Reserved.
|