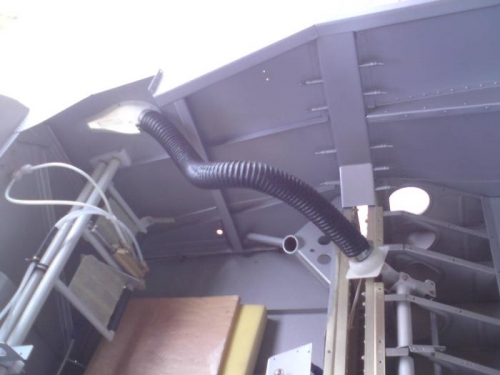
Brief Description: Cabin air vents and ducts assembled and installed.
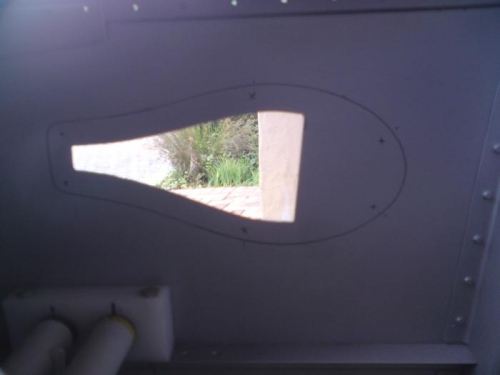
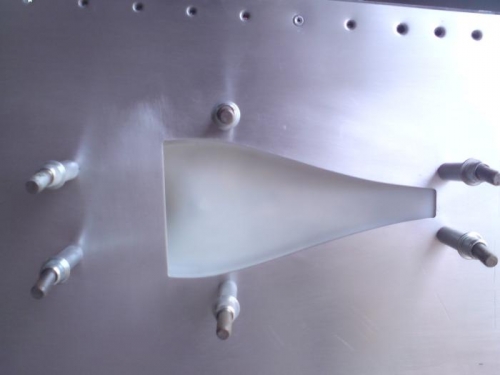
The NACA duct cutouts in the forward fuz were clened and shaped and sanded to the round edges as instructed, then the ABS ducts supplied were cleaned, edged, and smoothed for bonding and proper fit. Once ready the ducts were positioned in place and then marked, 6 drill holes were measured and marked out on a template which was transferred to the cutout and drilled on the fuz, with the ducts in place the pilot holes were match drilled and the ducts cleco'd in place on the left then the right. The holes were then final drilled to 1/8 for copper cleco's and deburred. The outside holes were countersunk for AN426 AD4-4 and two AD4-5's. The assemblies were taken apart for inside deburring. The ducting was measured and cut then trimmed and given and edge both sides and fitted over the inlet ducts on one end and the outlet nozzles on the other. The nozzles were fitted to the housings which were measured and drilled to the panel, the template was traced for the aluminium face plates still to be fabricated. The parts were fitted together with hose clamps, tightened and safety'd and the the assemby was secured to the fuzby the ducts with cleco's to the prepared holes in the fuz. The left side was bonded in place first with sealant applied liberally to the duct part and then clamped in place by cleco's. Masking on the inside prevented a mess on the paintwork beyond the duct edges. Once dry enough to work on I began riveting with the aforementioned rivets. The leftduct assembly was secured and is ready to be mounted to the panel to be completed.