Brief Description: Wiring Right Wing and Empennage
I got started on wiring in ernest.
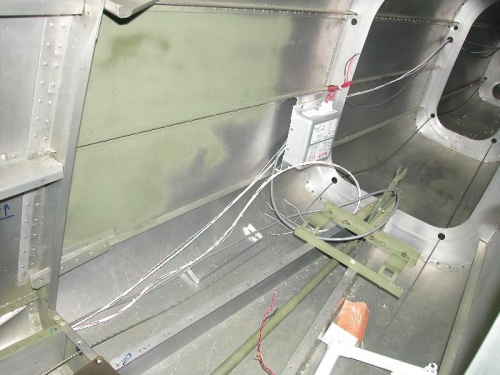
I started by lacing up the cables from the empennage. Wire ties worked quite well to form a cable in place. I still have to add some Adel Clamps to support the wire, but I am pleased witht he basic routing. I ordered some AMP connector pins to avoid splicing the strobe feed and control lines.
The wires to the wing will connect via a screw termianl block. This will allow the fuselage wiring to be completed without attaching the wings. The screw blocks will be beneath the flooring that we so wisely decided to screw rather than rivet. Planning ahead pays.
The right light control sub-panel looks like a mess in the picture below, but it really quite organized. I had laced the cable with spiral cable tape - it looks great. Although it is not visible in the picture below, I am sure that the final cable assembly will look great.
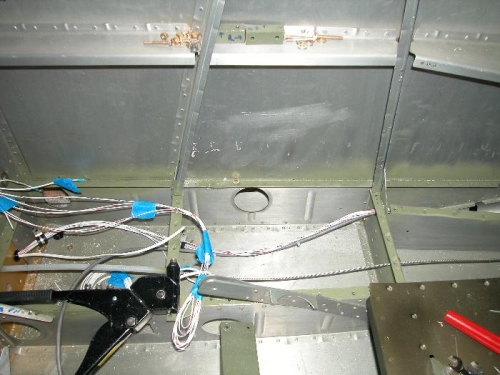
I started wiring the left wing. I didn't like the way that Vans routed the cable through the landing gear support area so I built a little plate with a 3/4" bushing to better support the cable as it comes out the top and crosses the fuselage. (see upper right of Picture 3)
For starting the day a bit frustrated that there was nothing to do, I got a tremendous amount done. In addition to the tangible work, I pretty much completed the wiring diagrams and switch selection. All in all, a very productive, if long, day.