I decided to move on to working on the pitot tube installation. I read the instructions, then came up with my own procedure that was a little more efficient. I first made the angle bracket as recommended. I clecoed that, then added the pitot mounting bracket and secured via two holes to the spar. From there, it seemed a lot easier to put on the skin and drill from the front instead of from the back as Gretz recommends.
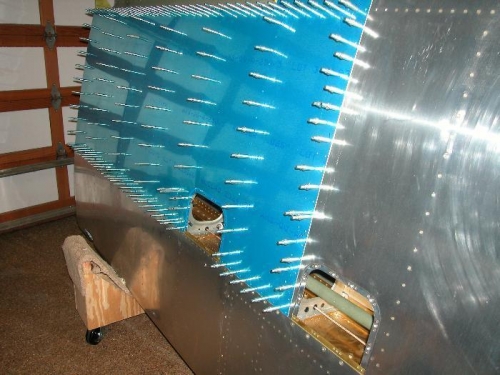
I clecoed up the skin - a gazillion holes. I then marked the additional holes needed to secure the pitot backing plate to the skin. This worked great - I drilled both the skin and the backing plate at once. While I had the skin clecoed up, I drilled all the rivet holes, making it time to debur and dimple the skin. Progress!
I took the backing plate and clecoed it to the skin to provide a template for drilling out the teardrop hole in the skin. I used the Unibit to get close, then the nibbler to get real close, finishing with the file. I noticed that the pitot would not fit into the mast. I squeezed the mast to get it to the shape of the pitot, but still had to trim the pitot a little. Pretty simple.
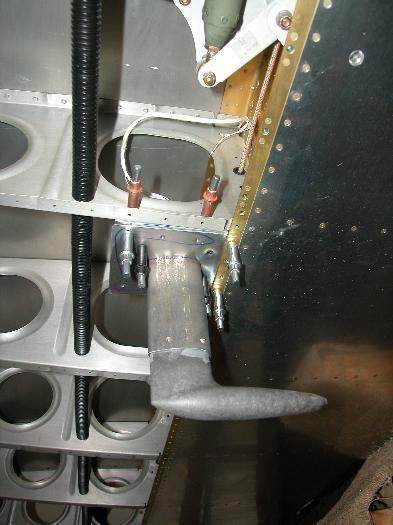
I did the usual deburring of the pitot parts and got them primed. Ready to rivet, although some riveting wil have to wait until the skin is applied.
I decided to mount the electronics module behind the access cover. I drilled and installed the three nut plates to hold the board.
The remainder of this will be deferred until the wings are attached to avoid the chance of damaging the pitot and mast. Great Day!