Brief Description: Modelled & 3D Printed The Right Header/Reducer
Imported the 3D scanned mesh of the 3-pipe intake, reducer body and start of the single-pipe output section of the right side Jabiru header/reducer pipe.
Cleaned up the mesh, closed the openings, then converted it to a solid body,
Measured the original, then created sketch elements to extrude the three-pipe intake section, and the single-pipe output section.
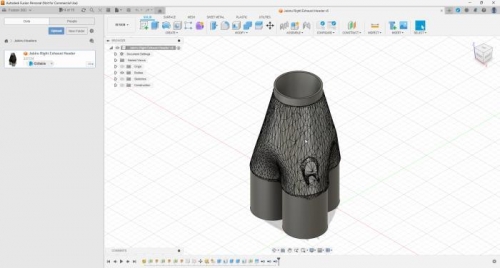
To the converted mesh of the reducer body, I created and added the three-pipe intake and the beginning of the single-pipe output. When the components were all alligned properly, I exported the assembly as an .STL file for 3D printing.
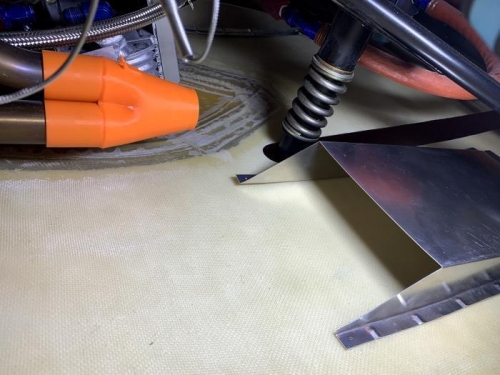
3D printed the intial CAD model to test fit on the engine exhaust. The 3D printed model fit onto the Jabiru exhaust headers.
Preliminary 3D CAD model, ready for 3D printing for test fit to the engine.
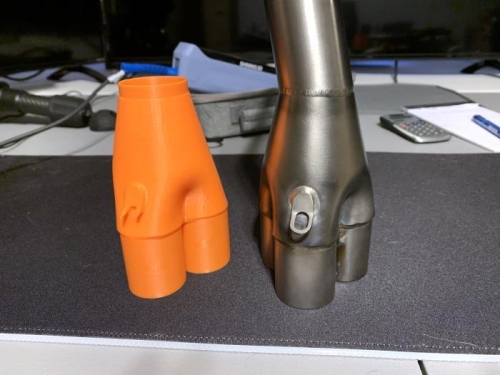
Side-by-side comparison of the preliminary 3D printed model and the original steel pipes.
3D model of the exhaust header/reducer fits on the 3-pipe clover leaf pretty well.