Brief Description: Blister Interior Fiberglass Reinforcement - Part 1
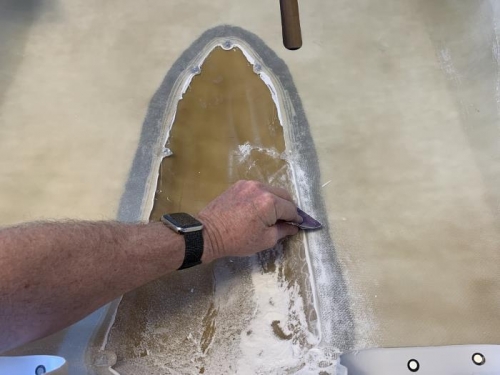
With the blister now preliminarily held in proper position by the cured JB Weld Marine Weld adhesive, I am going to dress the long, straight section of each side of the joint. I first sanded and shaped the physical joint surface to produce a smooth and rounded joint taking the shape of the transition contour.
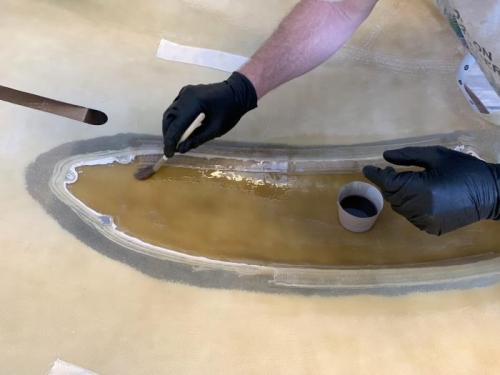
I then pre-cut 2" fiberglass cloth tape strips to fit the full length of the joint area I was reinforcing. I layed up two layers of resin with fiberglass cloth tape along the full mid-section on both sides. This was allowed to cure to provide stability while working on the two ends of the joinery, particularly the forward area near the prop hub.
Sanding the overflow adheasive on the inside to produce a smooth flowing seam on the interior joint.
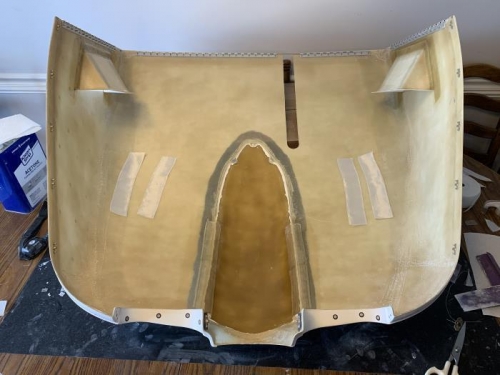
Both left and right long straight sections of the joint reinforced first.
Laying up the fiberglass cloth reinforment on the long, straight mid-section of the interior joint.