Brief Description: Fiberglassing The Cowling Side Vents Into Place
Began mounting the cowling side vents by sanding down the gelcoat on the mounting flange of the vents. this provided the roughed up surface for the resin to adhear to for initial placement mounting.
The back side of the mounting area was masked with blue painter's tape to allow for excess resin ooze out from the vent when compressed into place with the clamps.
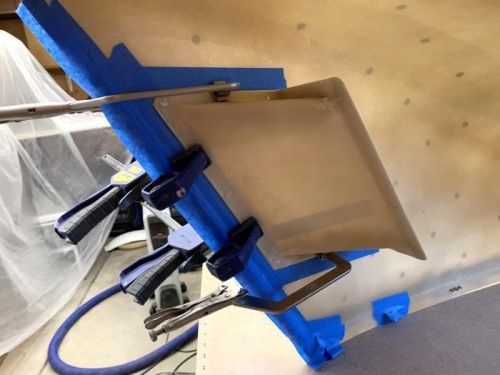
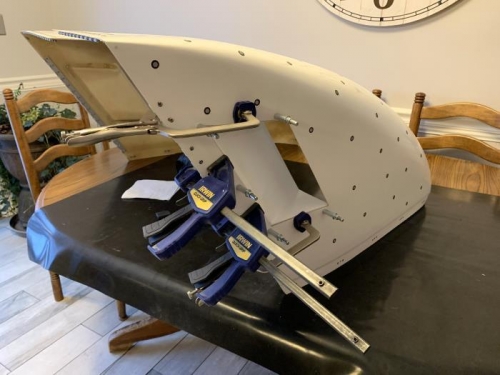
Once placed with uncured resin as the adheasive, the vents were clecoed in place at 5 points around the perimeter of the mounting flange, and clamping pressure applied at the midpoint of the span between each cleco. The resin was cleaned up as much as possible on the back side, then allowed to fully cure.
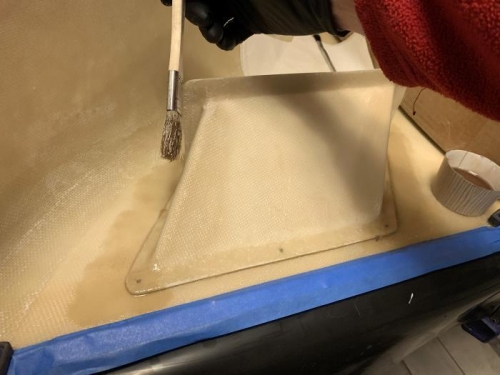
Once the resin cured and was holding the vent in place, the fiberglassing on the rear maounting flange was completed. A couple of layers of resin and fiberlass cloth were applied over the mounting lip and onto the interior of the cowling. This was done across all three mounting flanges of each vent. Vents were then left to cure.
The inside of the opening masked off with painters tape to prevent too much messy resin overflow.
The cowling side vent clecoed in position, then clamping pressure applied.
The interior fiberglassing with cloth reinforcement to finish the mounting of the vent.