Brief Description: Applying The Flange To The Mold Plug
The mold plug needs a flange around the perimeter of the mold edge to facilitate mold separation from the plug after the mold has cured.
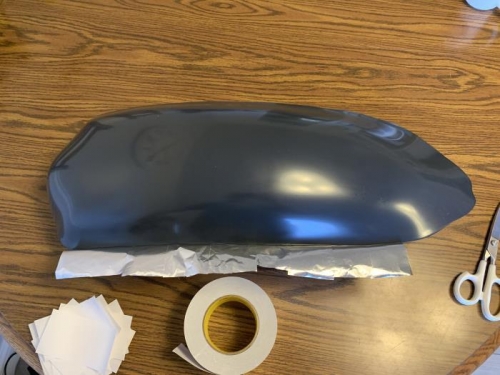
I used regular metalic foil duct tape. I placed strips of approximately 6 inches vertically starting on the base, proceeding up past the plug's edge by about 3 inches. This free-floating extended end of the tape was folded out to be a flange sticking out from the plug's edge.
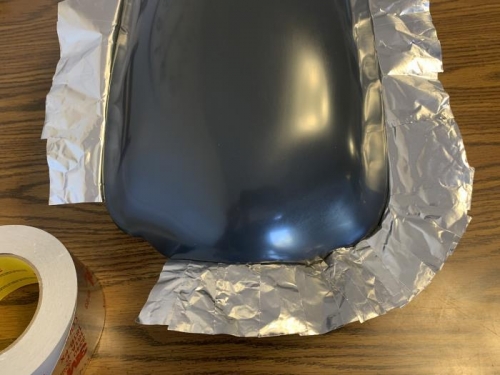
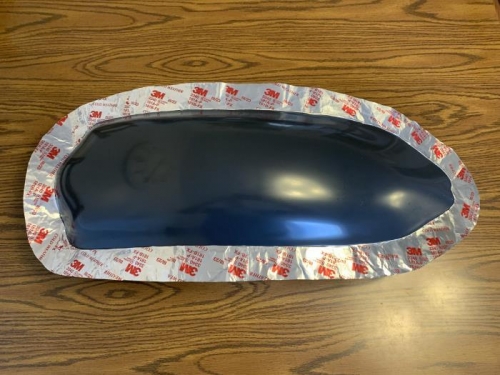
This proces was repeated twice around the perimeter of the plug. This leaves a sticky tape surface facing up as the flange surface. I then placed a third layer of foil tape in the flange, but this time the tae was applied sticky surface to sticky surface over the entire surface of the flange. Care had to be taken to line the long edge of the tape with the edges of the plug surface so as not to get the flange into the plug/mold interface. Once this third layer of tape was applied, the flange was firm enough to lay up the mold, and there was no sticky surface exposed. The flange extension was trimmed around the perimeter.
Laying up v=overlapping vertical strips of metal duct tape to extend past the plug edges.
Continuing around to complete the first layer of the metal tape flange.
The completed metal duct tape flange, shaped and ready to lay up the mold.